Advanced Technique
A card flipper allows you to create a box that contains information. When the user hovers over the box, the card 'flips' to introduce more information on the backside of the card.
This is going to be a little bit of an advanced technique as it will require you to edit HTML code. This tutorial will try to make the edits as easy as possible, but some existing HTML knowledge may be required.
Card Flips Can Work Great on Your Site For:
- About Out Team Page
- Testimonials
- FAQs
- Games - like Trivia Questions
- Flash Cards (for a Study Guide)
- Product Information (include a link to add to you cart)
The Card Flip
Hover over the cards below to see the effect in real time. Each separate card shows an example of each card flip idea listed above.
Hover Over Each Card


Johnny Crosby
I have been using MemberGate for over 10 years. The continuous enhancements and up to date security functionality keeps my subscription site a safe and fun environment. My members get exactly what they need, and I do too!
St Paul, Minnesota
JoinMySubscriptionSite.com


GeoTrust 256 bit SSL
Save $39 by purchasing 2 years. GeoTrust 2048 bit SSL certificate for 24 months.
MemberGate will take care of everything from ordering to installing to updating your site so it is secure.
Buy Now
The Process
There are three steps to adding the card flipper to your pages
- Download the HTML Code
- Download the CSS Code
- Edit the Code
Click on each tab for more information about completing the steps
Download the HTML Code
The flip code uses Bootstrap. Bootstap elements can be used within MemberGate, because MemberGate has built in the code necessary for Bootstrap to work.
In the most simplest terms, Bootstrap allows for faster and easier development. Anything that is rendered using Bootstrap can be added to your MemberGate pages.
The first step to adding the flip cards to your site is to access the code. Click the button below to copy the native code:
Click on each section to below to expand for more information:
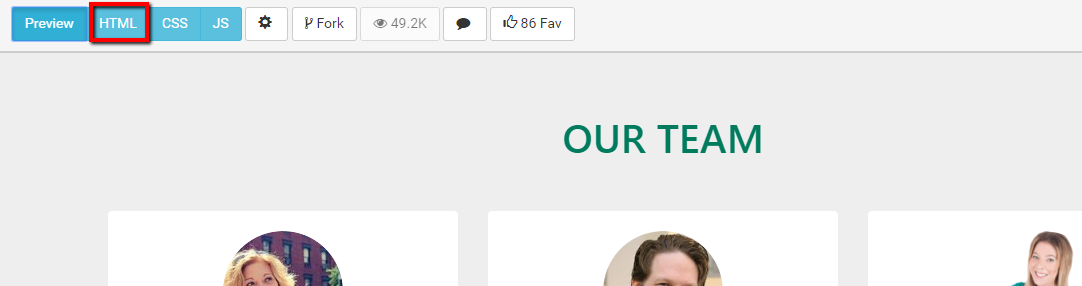
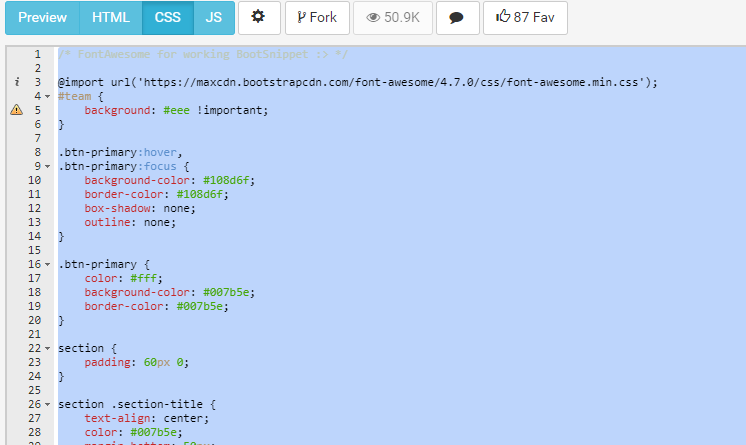
Click the HTML code tab
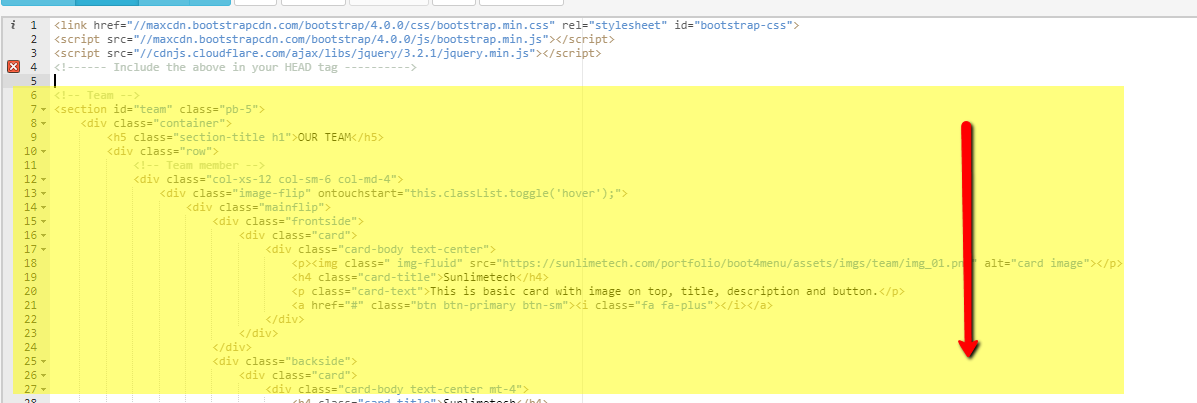
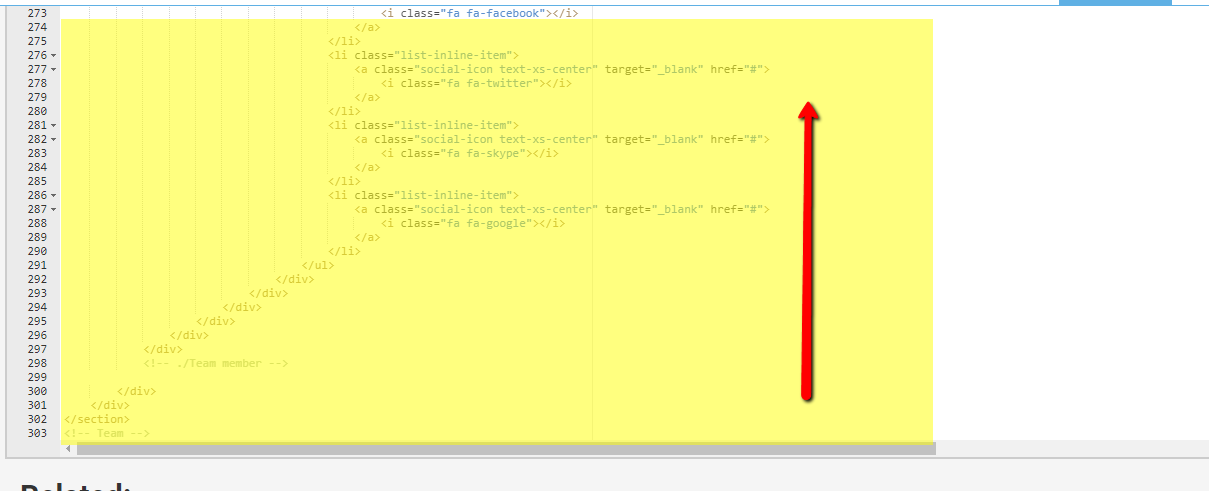
Copy the HTML code from the comment 'Team' code to the bottom of the code (ending 'team' comment code).
Top of the code
Bottom of the code
Paste the Code onto a Content Page
- Add a New Content Page
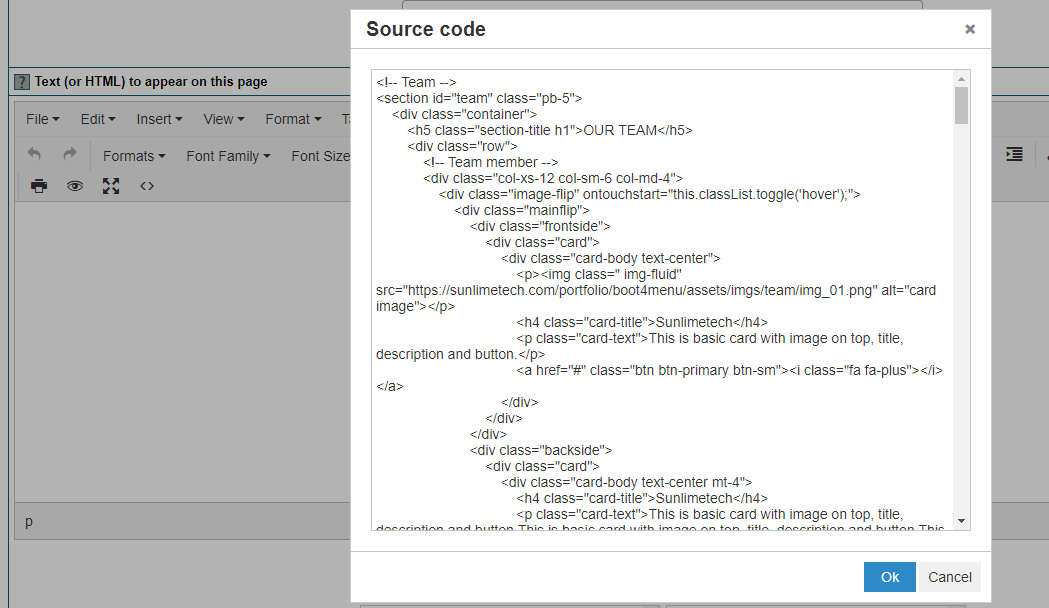
- Click the Source Code button on the WYSIWYG Editor

- Paste the Code into the WYSIWYG Editor
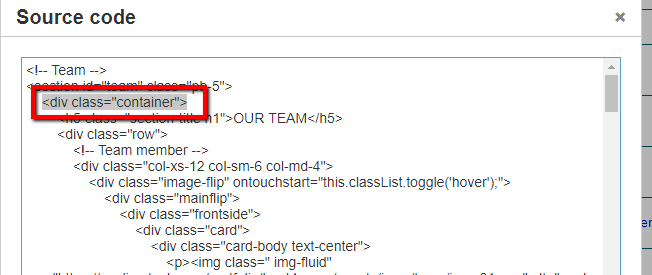
Delete Two Lines of Code
- On the third line of code, delete the < div class="container"> tag
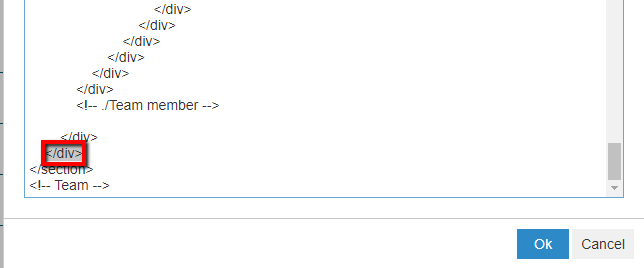
- On the third line from the bottom, delete the closing div tag < /div>
In the Second Step, Copy and Paste the CSS Code
Click on each section to expand for more information:
On the Bootstrap Page:
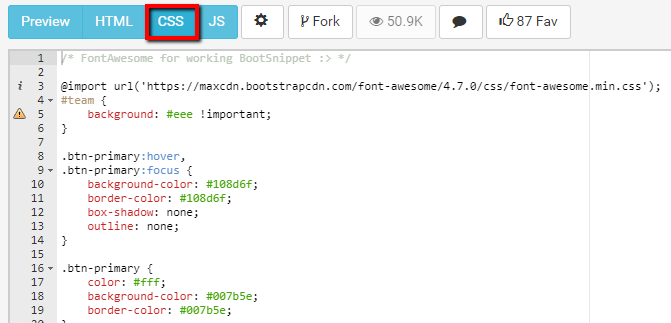
Click the CSS Code Tab
Copy all of the CSS Code
Paste the CSS Code into the Head of the Content Page Where the Accordion Will Appear
- Edit the Content Page
- Click the Button next to the 'Custom Header + Footer Javascripts'

- Add Opening and Closing style tags to the 'Custom Header Javascript' box
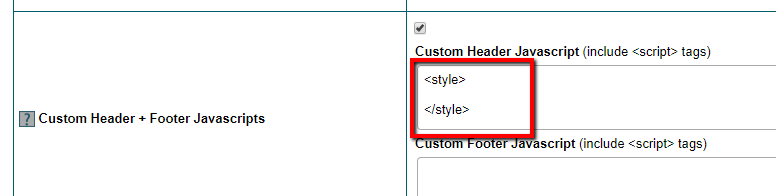
- Paste the CSS Code after the opening style tag
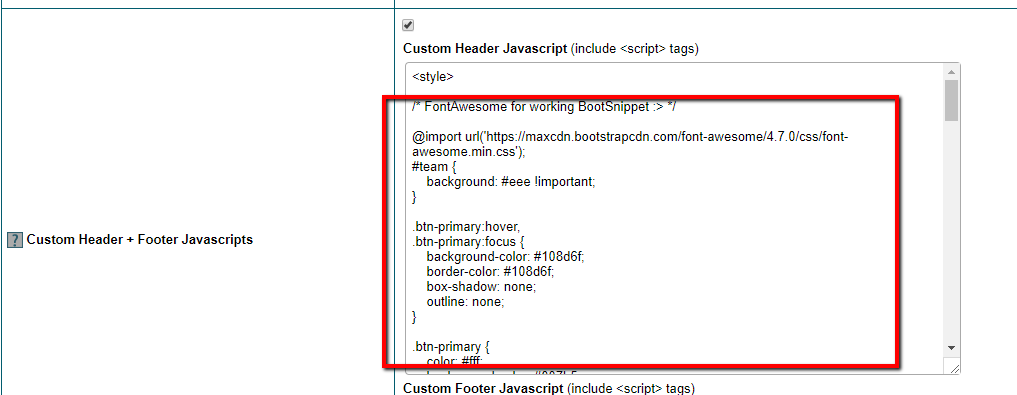
Delete the First two lines of code
@ import url('https://maxcdn.bootstrapcdn.com/font-awesome/4.7.0/css/font-awesome.min.css');

Edit the Flip Cards for Your Use
The flip cards can be customized by editing the HTML code directly.
In the WYSIWYG editor on the 'edit content' page, click on the Source Code button again if the HTML code isn't showing:

There can be 7 sections to edit when customizing the flip cards on your pages (1 section for the Title of the whole flip card area, and then 6 on each individual cards)
Each individual card contains the following sections:
- Image on Front of Card
- Title of Front of Card
- Description on Front of Card
- Title of Back of Card
- Description on Back of Card
- Social Media Icons on Back of Card
Editing each Indivdual Card can be Completed in the Following Steps:
Click on each section to expand for more information
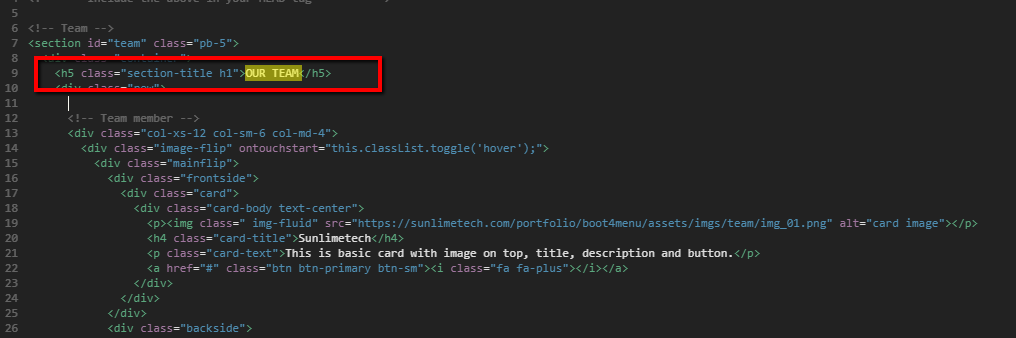
Edit the Title of the Card Flipper Section
Location of the Title Area on the Live Page

The HTML Code
Look for the following code and update the "OUR TEAM" Text
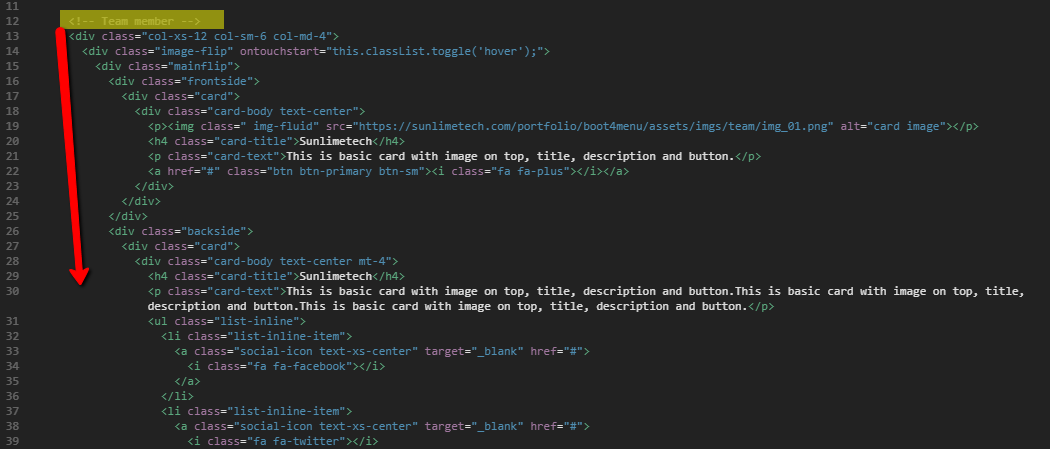
The Individual Card Code to Edit
Each individual card information can be found in the HTML code between the commented code:
< !-- Team member --> and < !-- Team member -->
Each individual card contains the following sections:
- Image on Front of Card
- Title of Front of Card
- Description on Front of Card
- Title of Back of Card
- Description on Back of Card
- Social Media Icons on Back of Card
Any of those sections can be customized or deleted if not in use
.
The Code
The Image
Location of the Image on the Live Page
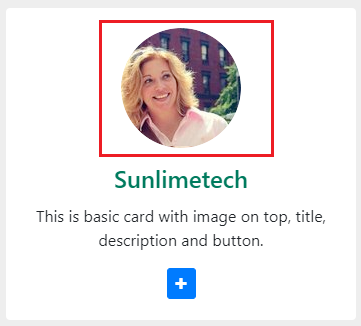
Edit and Upload the Image
The image should be edited using an image editing program and then uploaded to your MemberGate site.
The image should be sized as a square 100x100 - 150x150 pixels.
After edited and resized, the image can then be uploaded to your MemberGate site:
- In the control panel under 'Utilities' choose 'File Upload'
- Choose the folder to upload (for example, Public Image Storage Area)
- Click the 'Upload Files' link and choose the file from your local drive
- Copy the resulting file path and paste it into the HTML code
The HTML Code
Look for the following code and paste the path of the Image in between the src= quotation marks replacing the https://sunlimetech.com/portfolio/boot4menu/assets/imgs/team/img_01.png

Title of Front of Card
Location of the Title of Front of Card on the Live Page
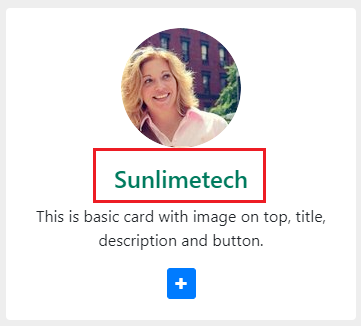
The HTML Code
Look for the following code and update the "Sunlimetech" Text

Description on Front of Card
Location of the Description on Front of Card on the Live Page

The HTML Code
Look for the following code and update the "This is basic card with image on top, title, description and button" Text

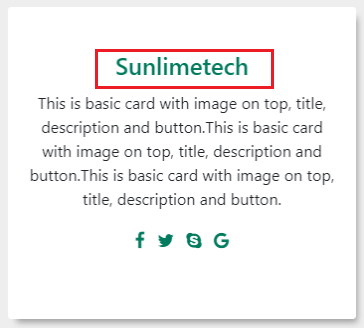
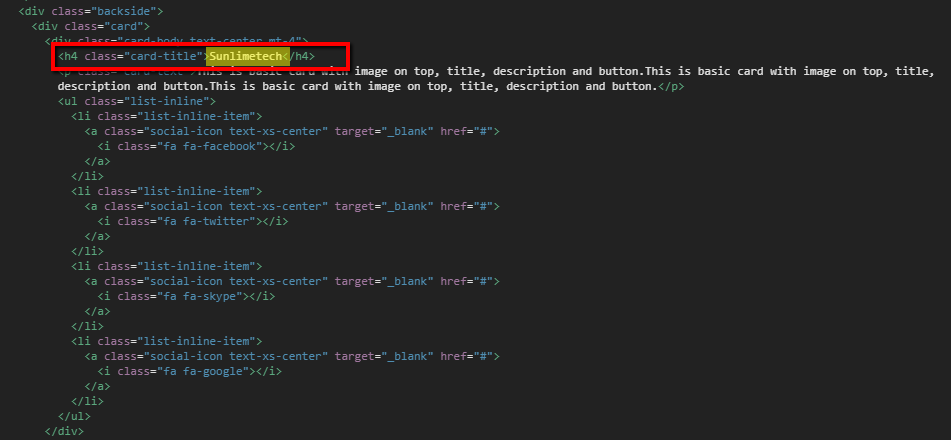
Title of Back of Card
Location of the Title of Back of Card on the Live Page
The HTML Code
Look for the following code and update the "Sunlimetech" Text
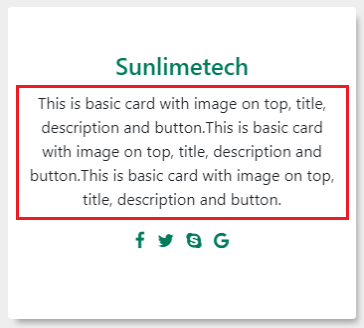
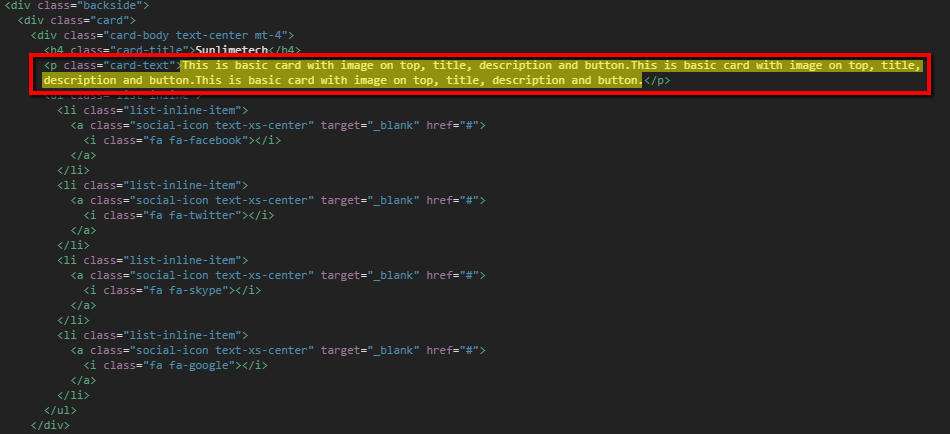
Description on Back of Card
Location of the Description on Back of Card on the Live Page
The HTML Code
Look for the following code and update the "This is basic card with image on top, title, description and button.This is basic card with image on top, title, description and button.This is basic card with image on top, title, description and button" Text
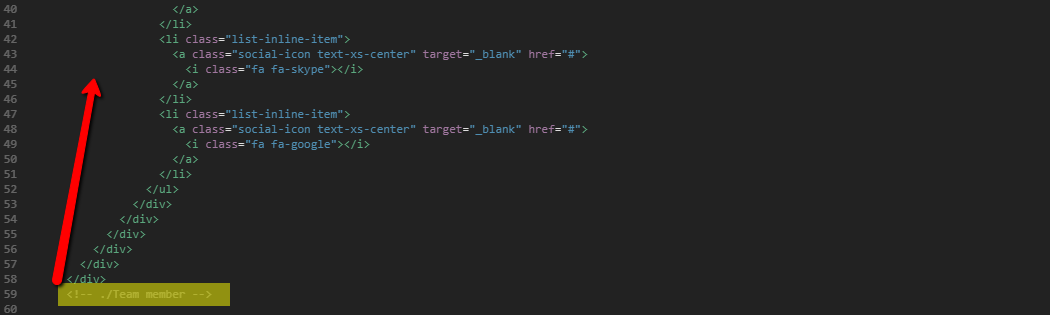
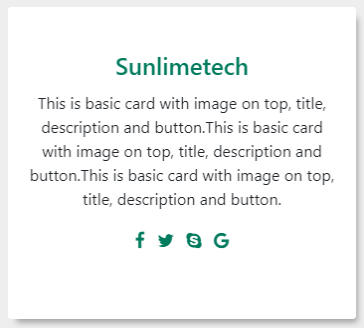
Social Media Icons on Back of Card
Location of the Social Media Icons on Back of Card on the Live Page
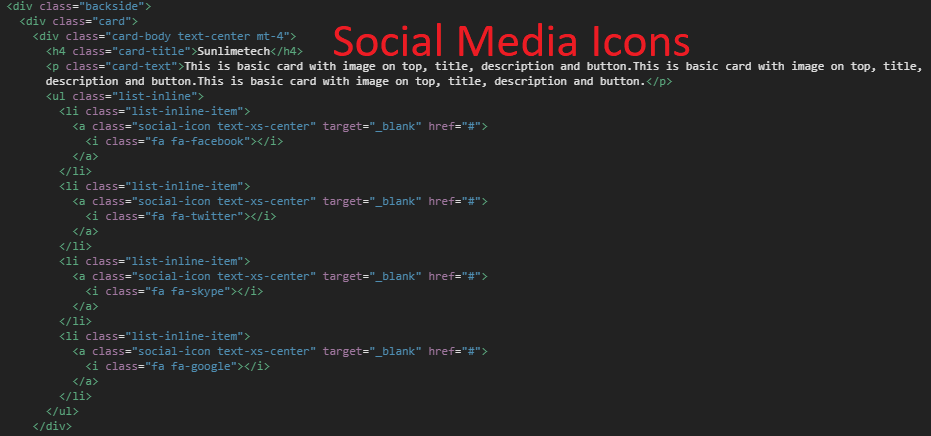
The HTML Code
Look for the following code and update the href="#" Text. This is a link that will link to your social media pages.
Each Individial Social Media Icon
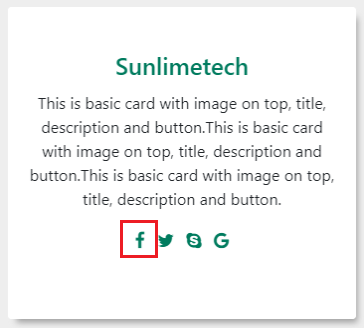
Location of Facebook Icon on Back of Card on the Live Page
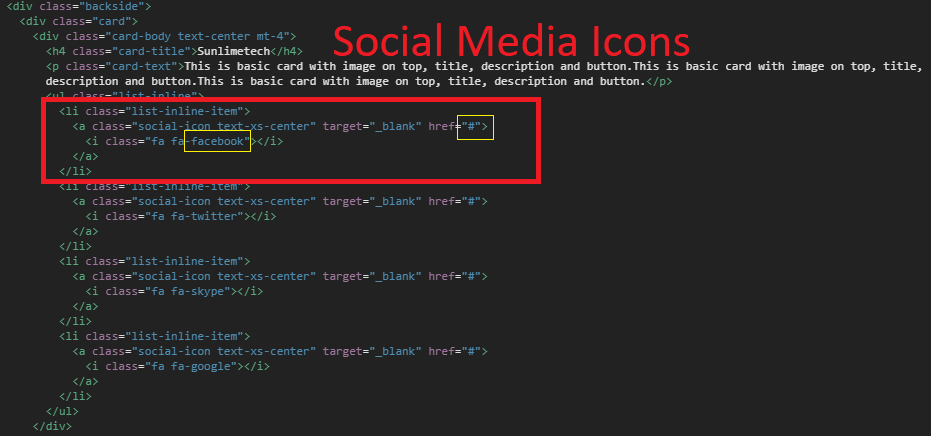
The Facebook HTML Code
Look for the following code and update the # with the URL for your Facebook page.
< a class="social-icon text-xs-center" target="_blank" rel="noopener" href="#">
< i class="fa fa-facebook">
< /a>
< /li>
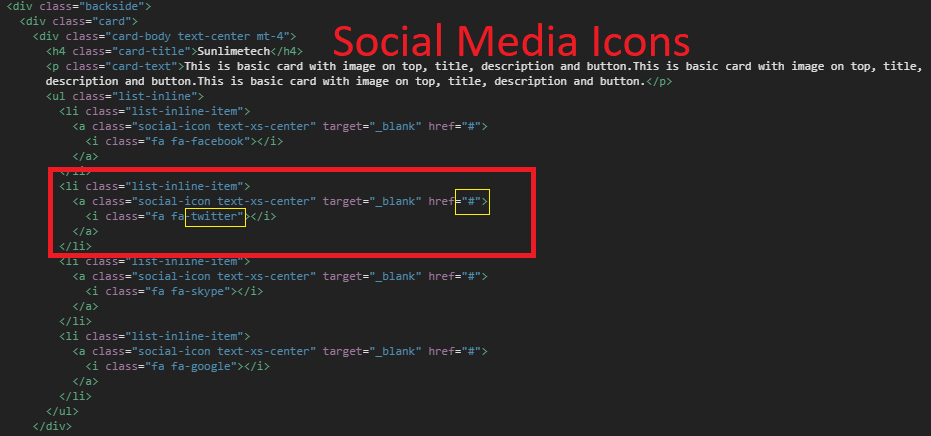
Location of Twitter Icon on Back of Card on the Live Page
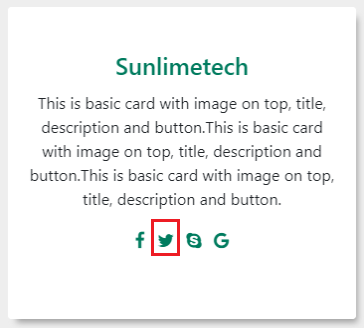
The Twitter HTML Code
Look for the following code and update the # with the URL for your Twitter page.
< a class="social-icon text-xs-center" target="_blank" rel="noopener" href="#">
< i class="fa fa-twitter">
< /a>
< /li>
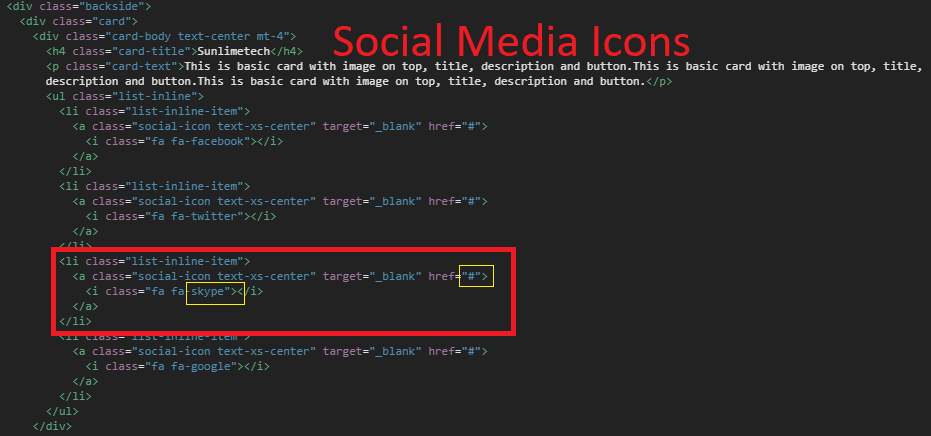
Location of Skype Icon on Back of Card on the Live Page
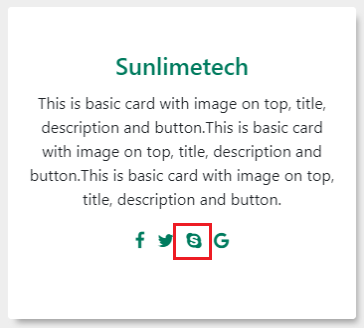
The Skype HTML Code
Look for the following code and update the # with the URL for your Skype page.
< a class="social-icon text-xs-center" target="_blank" rel="noopener" href="#">
< i class="fa fa-skype">
< /a>
< /li>
Location of Google Icon on Back of Card on the Live Page
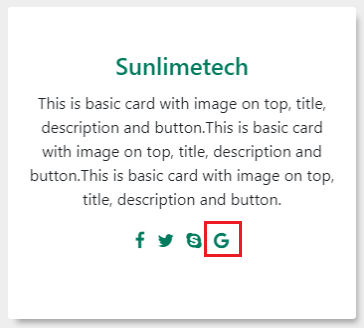
The Google HTML Code
Look for the following code and update the # with the URL for your Google page.
< a class="social-icon text-xs-center" target="_blank" rel="noopener" href="#">
< i class="fa fa-google">
< /a>
< /li>
Other Social Media Icons
If you are using or would like to link to other Social Media sites, the icons can be found at Font Awesome.