
Tutorial
How to Install and Enable
a MemberGate Theme
The design, look, feel and even navigation of your site can be switched quickly and easily using Membergate Themes.
Theme Library
- Download and Install
- Enable on Your Site
- Personalize with Contact Information, Social Networks and Widgets
Download and Install
Download the File
Click any of the Download File buttons for the theme to be redirected to the Download Library Page.
The zip file for the theme can then be downloaded by clicking on the 'Download Now' link.
Save the zip file to your local drive.
Install the Theme
The theme can then be uploaded to your site using the Theme Uploading tool.
The Themes management can be found under Appearance Choose Theme
Under 'Choose Theme,' click on Add Theme link
Click on Upload Theme and Upload the Zip file.
When the theme zip file has been installed, click on the button.
Once the Theme has successfully installed, click on the next tab for instructions on how to Enable it.
Enable the Theme on Your Site
Follow the steps below to enable the theme on your site.
Click on each step to expand for more details.
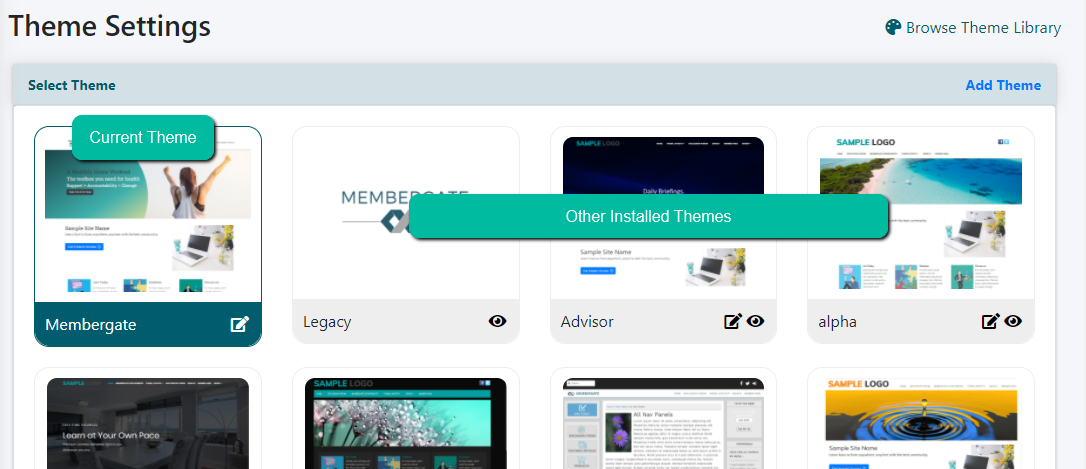
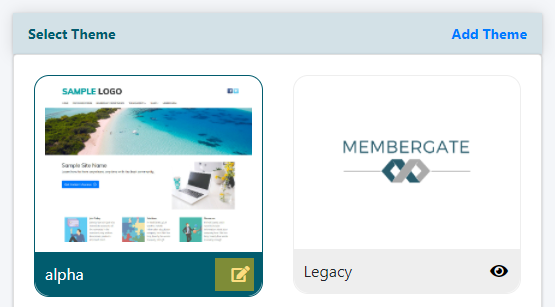
The Themes management can be found under Appearance Choose Theme
Example Theme Settings Page
Click on the icon to Edit the Theme Colors and other settings
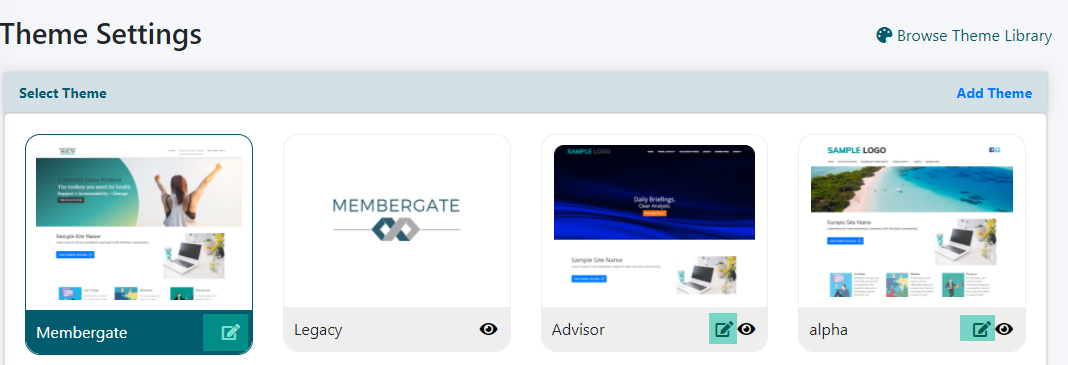
Click on the button to Save the New Settings
The items in the customize menu can be updated to reflect a new logo, new title or new colors on your site. When those updated changes have been made, click on the 'Modify Theme' button under the menu settings.
The theme settings can change as many times as needed.
Preview the Theme in a Test Environment
Prior to enabling the theme on your site, you can preview the theme locally on your site to see how the theme will look on all of your pages.
To Preview:
Under the available themes click on the icon on the theme box that you would like to preview
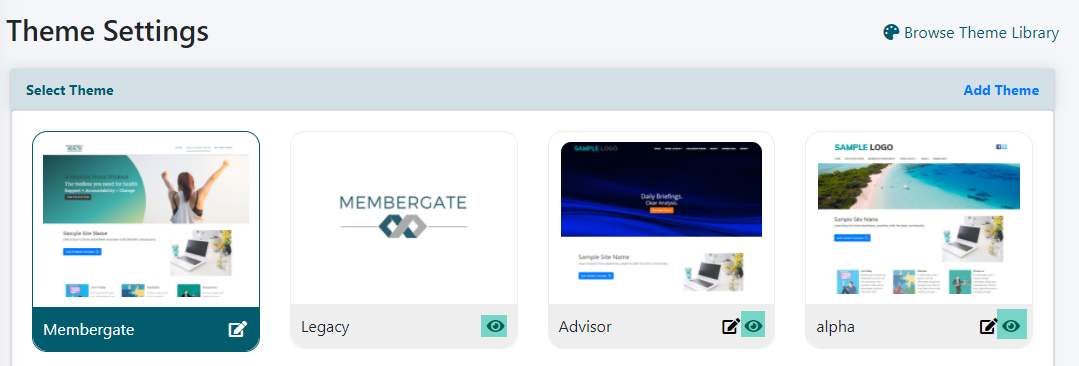
This will open a new window of your site with the new theme. Navigate around as desired.
To Quit the Preview
Hover over 'Admin' in the top nav bar and select 'Return to Selected Theme'
You will now be able to view your site in the original theme.
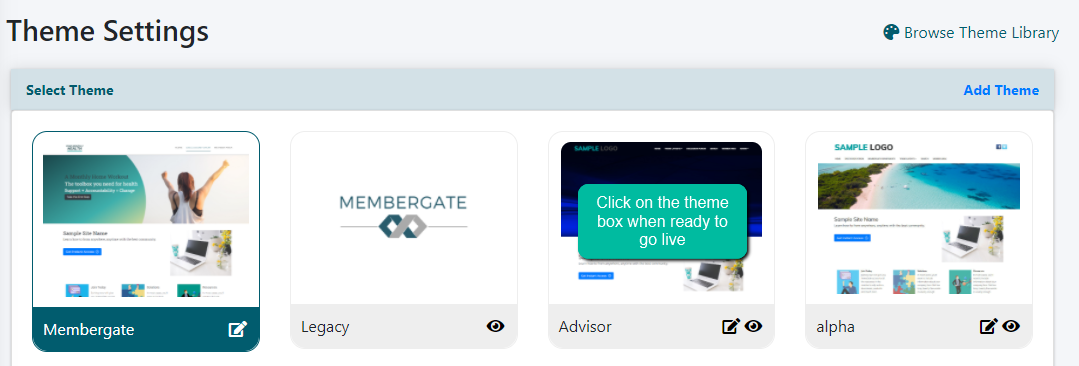
Click on the Theme that Should Display on your Site
When the theme is set up and ready to go live, simply click on the theme box.
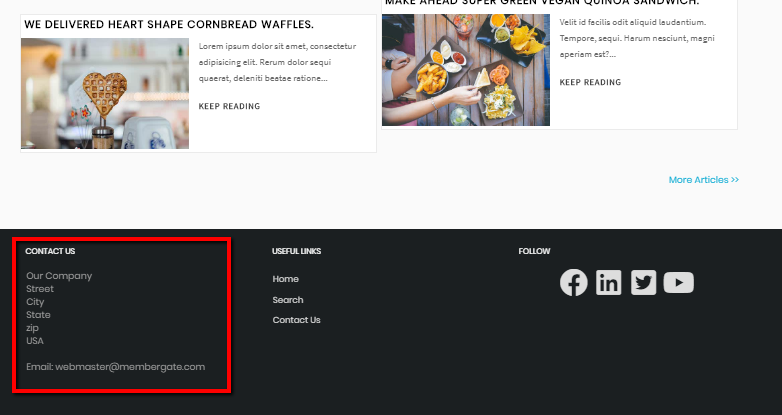
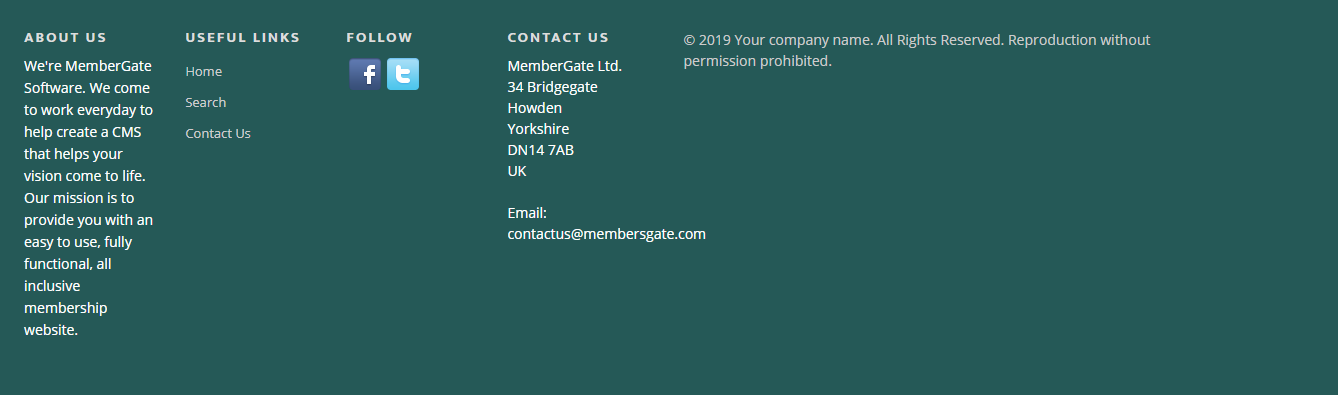
Customize the Contact Information and Details
Contact Information can be added to the footer area of your theme.
The contact details can be edited and customized through the 'Contact Information' section.
The Contact Information Section
Follow these steps:
Editing the Contact Details can be found under Master Settings Contact Details
Edit each field and enter the details for your site's contact information
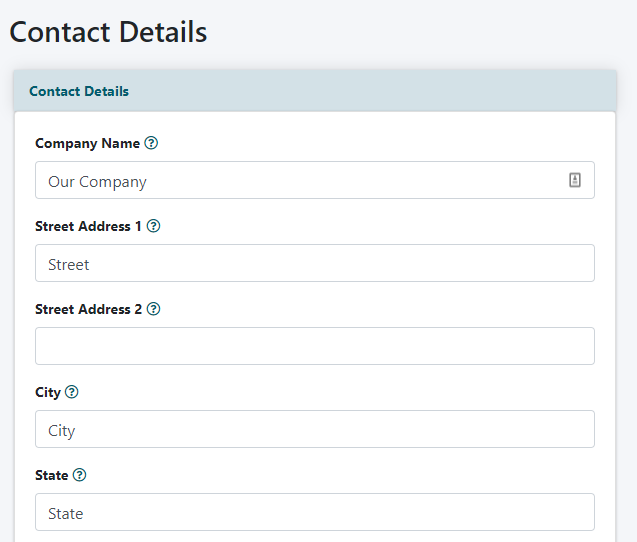
Click the button
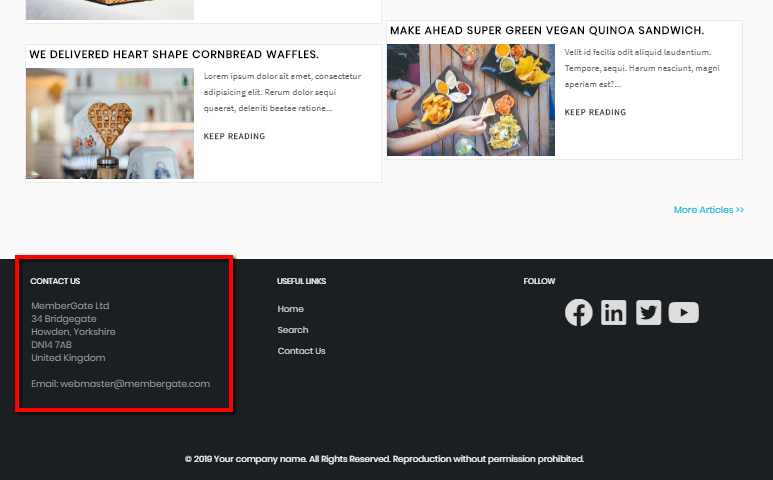
Results
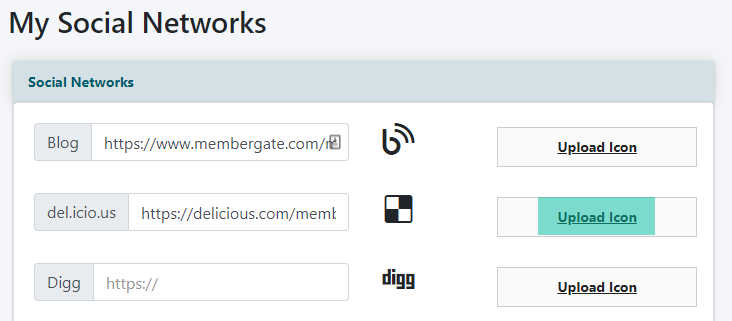
Customize Your Social Network Icons
Social Network Icons may be added in the header and/or footer of your theme.
Your specific social network icons can be edited in the Social Networks section.
Follow these steps:
The Social Networks management can be found under Social Networking My Social Networks
Under the 'Setting' section enter the URL for your specific social network page. If you do not have a certain social network, leave it blank.

Upload your own image or use the font awesome version (the color of the font awesome icons will match your theme).
To upload your own, click on 'Upload Icon' and select the image from your local files.
Click the button
The Results
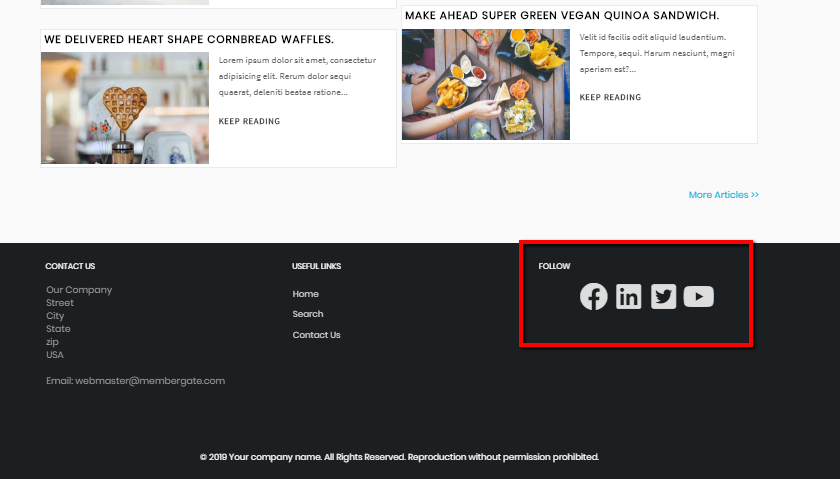
Widgets
Use the Widgets section to control what section of information is added to the footer on your site.
There will typically be 3-4 sections of information that can be added to your footer (this will depend on your theme).
Example Footer with 4 Widget Sections Enabled
A widget can be added in 2 steps:
1) Activate and Edit the Widget Details
2) Add the Widget to the Theme Footer
Activate and Edit the Widget Details
The widgets that are added to the footer area have to be created first.
There are multiple types of widgets that can be added:
- an Image
- Social Media icons
- Images
- Text
- Contact Us
- Links
To add and activate the Widgets follow the steps below. Click on each section to expand for more information.
The Themes Widgets can be managed under Appearance Widgets
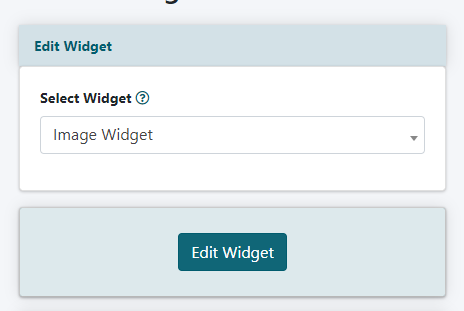
Edit Widget
Choose the widget to edit from the drop down menu.
Click the button.
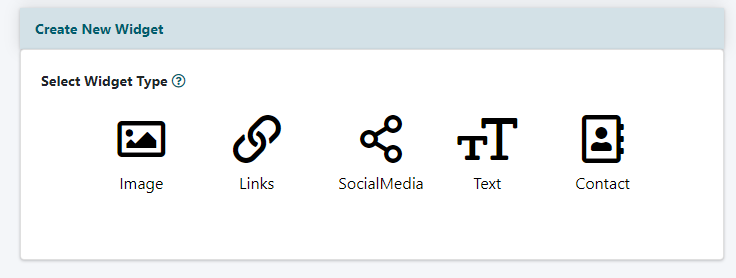
Create New Widget
Click on the widget icon for the type of widget that should be added.

Add or Edit the Widget Fields
Enter in the information for each field
Status
To use this widget check the 'widget active' box. To stop using the widget, uncheck the box.
Widget Type Options
Contact
The Contact Us information is collected from the 'Contact Details' option found under 'Theme Settings - Click each box to include that contact option on the live site
Links
The links are pulled from the departments set to appear in the footer (edit department choose to show link in the footer)
Social Media
The social media icons are set in the 'Social Networks' option under 'Theme Settings'
Text
Add and format any text that should be added to this section
Images
Upload the image to for this widget
Add the Widget to the Theme Footer
After the widgets have been customized, the next step is to add them to your footer.
This can be completed through the Themes 'Modify Theme' area.
Click on each section to expand for more details.
The Themes Widgets can be added under Appearance Choose Theme
Edit the Theme
Click to the edit icon for the theme to add/update the widgets
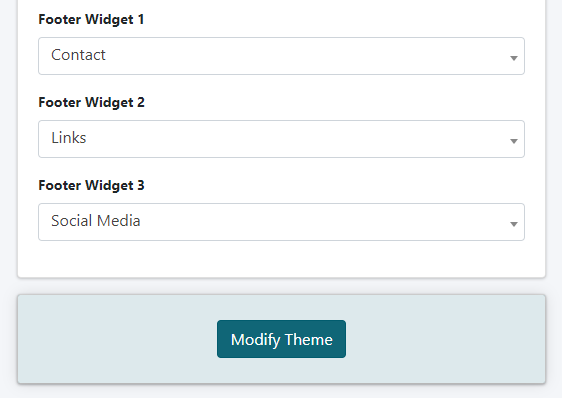
Footer Widget Fields
Choose the widget to display from the drop down menu.
Depending on the theme, there may be 3 or 4 footer widget fields.
Click the button when completed.
Need More Help?
It's only three steps to use any of the themes: 1) Download and Install 2) Enable 3) Personalize
However, if you don't have time and want a little help we can provide a service to install and enable the theme for you.
Related Articles


