Tutorial
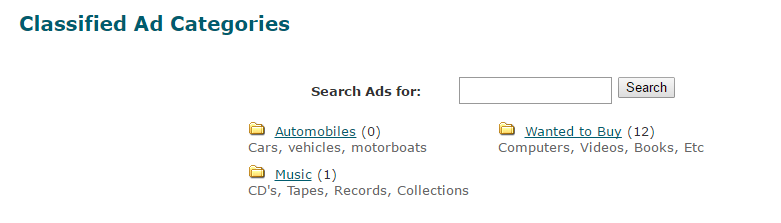
A classified ads section can be set up on your MemberGate site to allow your members to post an ad to sell, trade or buy 'something'. Non-members and members can see the ad, but only members are allowed to post.
The classified ad section can be found on your site at https://www.yoursite.com/classifieds/index.cfm
To set up the Classified Ads Section

To prevent spam bot abuse, the classified ads does need to be enabled first. Please see how to 'Enable the Classified Ads
The Classified Ads can be managed under Commerce Classified Ads Settings
Classifieds System Settings
A lot of the settings can be kept as default, but if you wish to customize the classified ads more, that can be completed in this section.
- Classifieds Name - Enter the name of the classified ads
- Admin email Address - This is the email address where posted ad information will be sent. This will alert you if an ad needs approval before it is posted.
- Automatically Approve Ads - Set if you would like the ads to be approved before they are posted. Select 'yes' if you would like them approved. Select 'no' if they do not need approval and will automatically post.
- Max Cross Posting Categories - Allow posters to include the ad into a max number of categories. Enter that number here.
- Maxiumum Image file Size - Posters can include an image. Enter the max file size of those images here.
- Maxiumum file Size Ad Text - Enter the maximum number of characters a post can contain.
- Classified Ad Duration Choices - Allow posters to choose for how long their posts will be available. Enter a number of days and include a comma in between each option.
- Help Page Text - This is the text that will appear on your site. Users who are using your classified adds will be able to view the help page by clicking on the 'Help' link in the classified menu at the bottom of the page. The help page can be found here: https://www.yoursite.com/classifieds/help.cfm
- Scripts - If you have any external scripts to run on the classified pages, the scripts can be entered here.
Save
Click on the button
Classified Ads Categories
Setup to which categories the classified ads can be added
The Classified Ads Categories can be managed under Commerce Classified Ads Classified Ads Categories
Add New Category
Click 'Add New Category' from the top right of the menu.
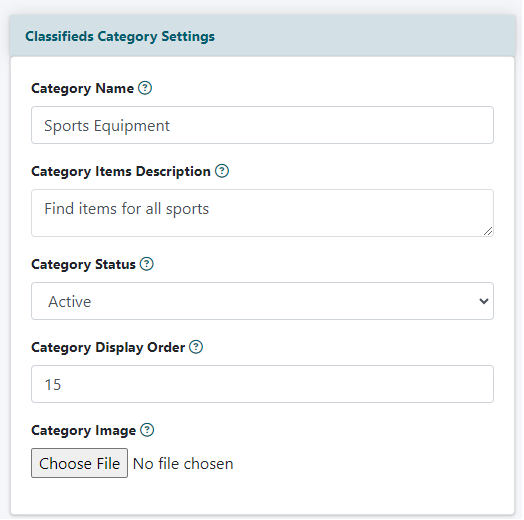
Classifieds Category Settings
- Category Name - Enter a name for the category
- Category Items Description - Enter a short description for the category. This could be a listing of the types of ads that can be found within the category.
- Category Status - Choose 'active' for the category to show in the classifieds, select 'inactive' if you do not wish for the category to show.
- Category Display Order - Add a number from 01 - 1000 to arrange where this category shows on the classified ads page. The lower number will appear closer to the top of the page.
- Category Image - Upload an image if desired. Click on the 'Choose File' button and select the image from your local drive.
Save
Click on the button
Edit the Caption Headers
Update what the posters can choose for the type of ad. For example, For Sale, For Trade, Contractor Help
The Classified Ads Caption Headers can be managed under Commerce Classified Ads Caption Headers
Add Caption Header
Choose 'Add New Caption' from the top right of the menu
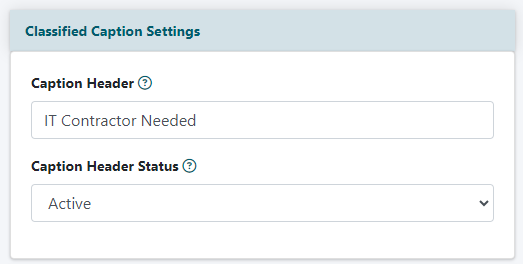
Classified Caption Settings
Add the name of the caption in the 'Caption Header' field and set the status to 'active' to enable it. Set the status to 'inactive 'to disable.
Save
Click on the button
Approving Ads
Approving new Classified Ads can be managed under Commerce Classified Ads Ads Awaiting Approval
Ads for Approval
If there are any ads waiting for approval, they will be displayed.
Approve
Click Approve to publish the ad.
Edit
Click the name of the ad or the 'edit' button to make any changes to the ad.