
Tutorial
Connect Your authorize.net Account to Your MemberGate Site
There are only 2 steps to take to complete this connection:
- At authorize.net - generate your API Login ID, Transaction Key and Public Key
- At your MemberGate site - paste the API Login ID, Transaction Key and Public Key in Payment Gateway
Please follow the steps found below to connect your site to your authorize.net account.
Click on each of the tabs below for further instructions
Generate the Keys to Add to MemberGate
Generate and copy the API Login ID, Transaction Key and Public Key to connect the authorize.net account to your MemberGate site.
Click on each of sections below to expand for more information.
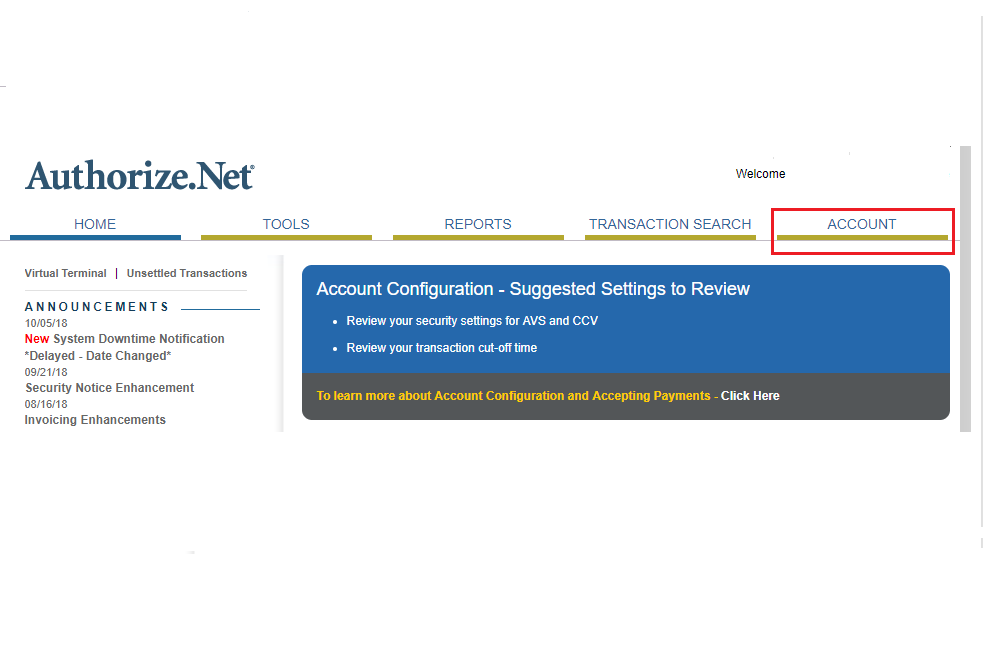
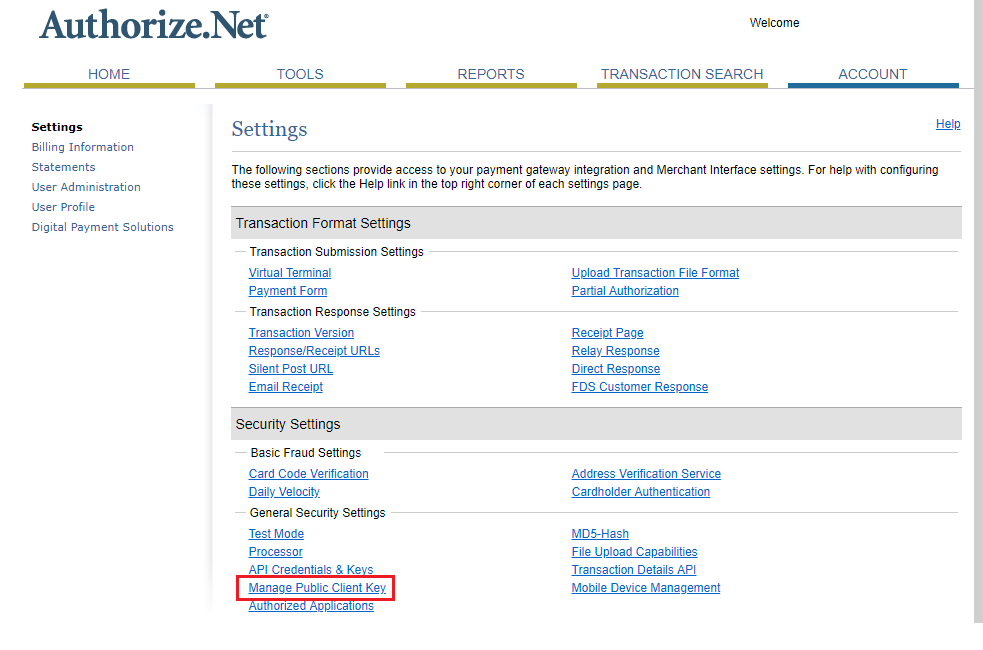
The login page for authorize.net can be found here: Activate authorize.net CIM This is the authorize.net token payment gateway option that is required for MemberGate use. To sign up for the Customer Information Manager (CIM) service: This is the login that your MemberGate site needs in order to connect and process through the Authorize.net system. Your initial login and password does not make the connection to Authorize.net. From your authorize.net dashboard, click on the 'Account' link in the top tab menu, and then choose 'API Login ID and Transaction Key' from under the 'Security Settings' Menu. On the 'API Login ID and Transaction Key' page, you will first be asked to confirm your "Secret Question" that had been created when the account had been set up. Copy the API Login ID and Transaction Key. This is the information that your site needs to connect to Authorize.net.
Login at authorize.net
API Login ID and Transaction Key

Answer the Secret Key
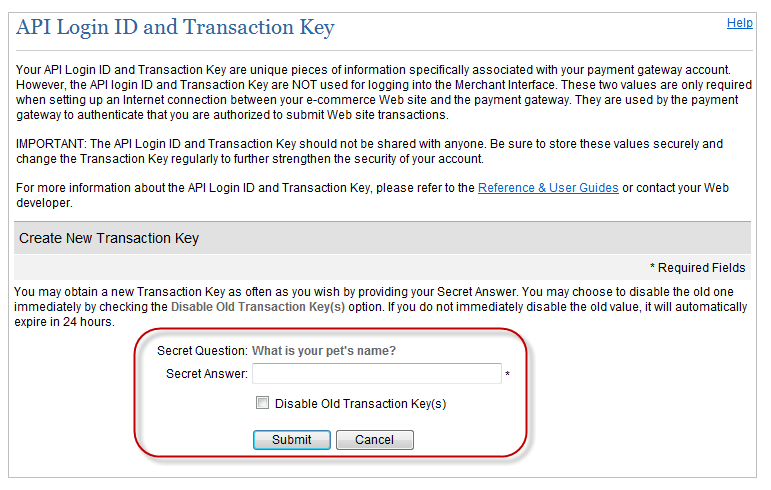
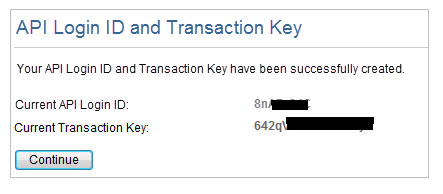
Generate the API Login ID and Transaction Key
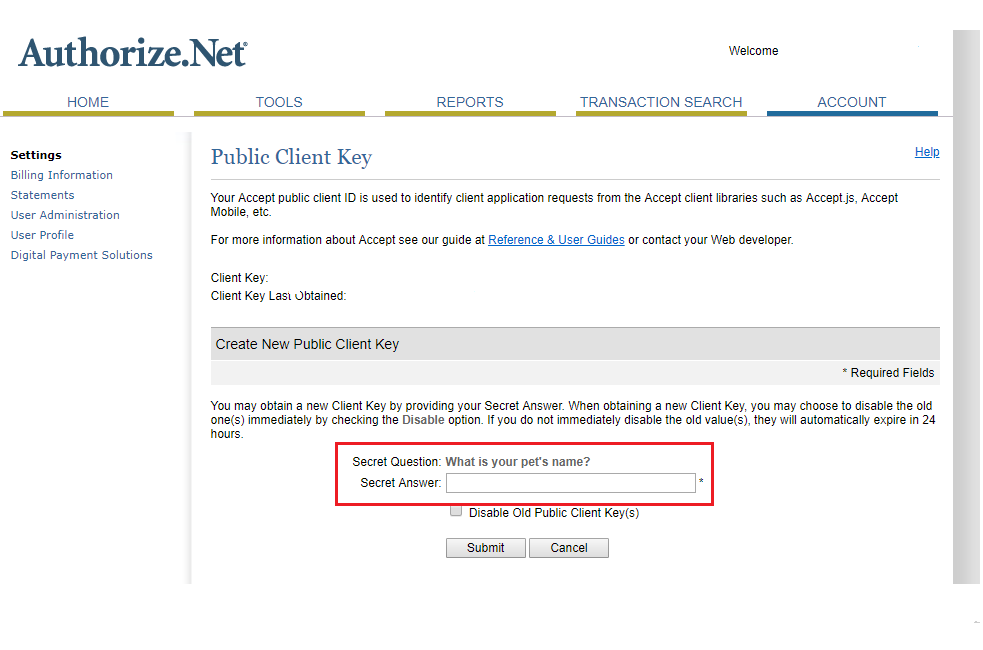
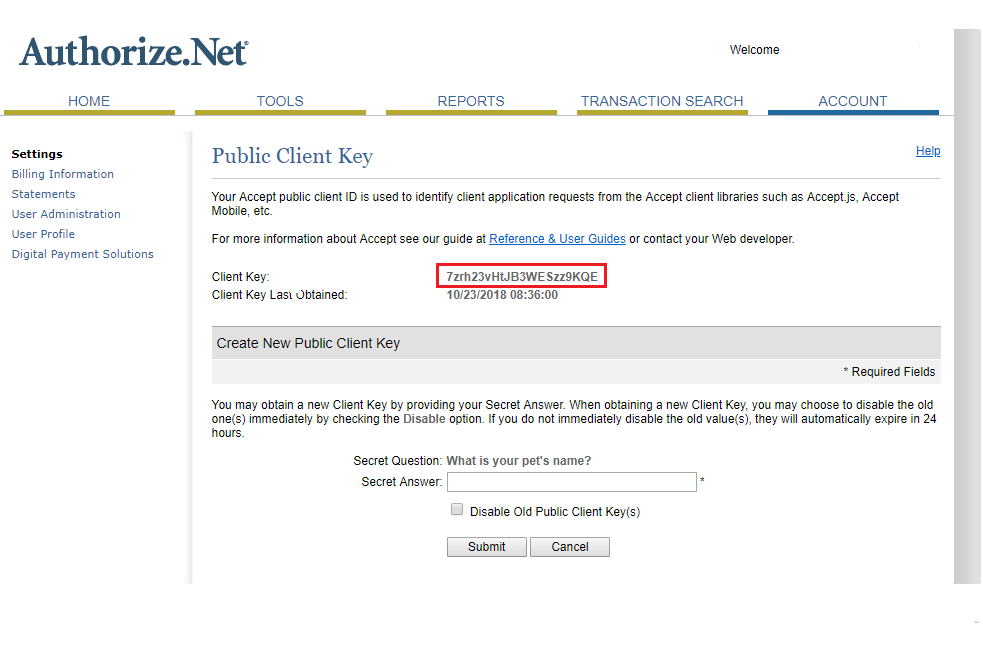
Create a 'Public Client Key'

Enter the API Login ID, Transaction and Public Key to your MemberGate Site
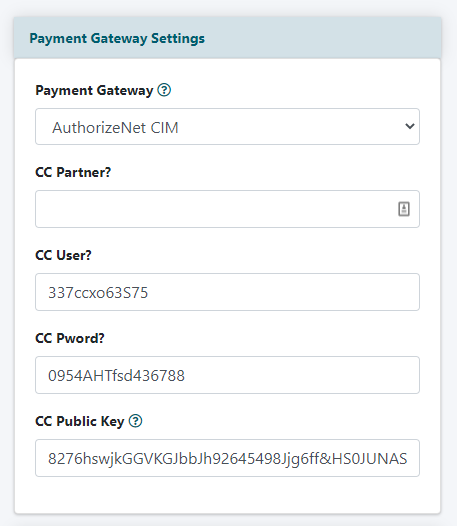
Payment Gateway Settings
The Payment Gateway options are edited on the right side of the control panel under Payment Settings Payment Gateway
Payment Gateway
Select 'Authorize.net CIM' from the drop down menu.
CC User
Enter the API Login ID that had just been created.
CC Pword
Enter the Transaction Key that had just been generated.<
CC Public Key
Enter the Public Key that had just been generated.
Save the Changes
When all of the changes have been made, click on the button found at the bottom of the page.
Successful Connection
Confirm that Connection to AuthorizeNet Successful' results.
You Are Not Live Yet!
It's important to note that when you first start with Authorize.net, your account is in "Test Mode". This allows you to test transactions on your site. Until you turn off test mode and go into Live mode, then transactions won't actually be processed. They will look like they are going through (for testing purposes) but the card won't actually get billed. It's very important that you go into Live Mode when you are ready to start accepting money for real.