Tutorial
Many Facebook features can be placed on your site.
Before you do any of that however, you need to set up a few things with Facebook so that they will work on your site.
You only have to do this one time for your site.
Go to Facebook to create a new "app" by clicking this link:
https://developers.facebook.com/apps
A. If you see a message that says 'Become a Developer' and a 'Register Now' button, click on 'Register Now'. If you see a 'Create New App' button, continue to part 2.

B. Click on 'Yes' and Register'
C. Click on the 'Basic Settings' link at the bottom of the next screen. Then proceed to part 2 of this tutorial.
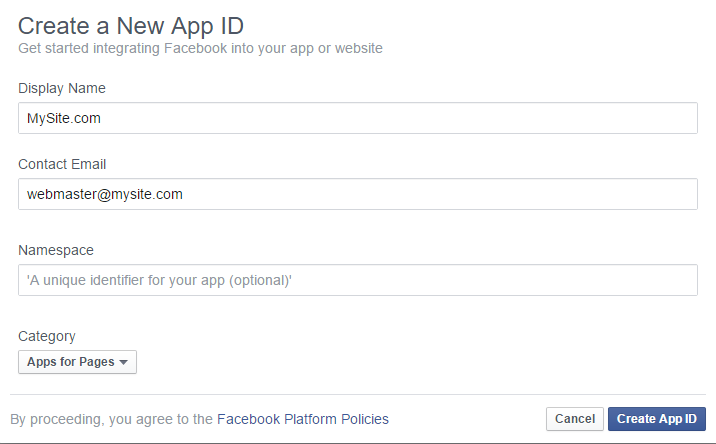
Click on "Create New App" to the top right of that screen:

Name this app something unique but a bit descriptive. In this case we used "Mysite.com", add a contact email address and select the category 'Apps for Pages' from the drop down menu for your website topic from the drop down menu. Choose 'Create this App' and Pass the security check on the following screen.
Click on the 'Settings' option in the left nav.
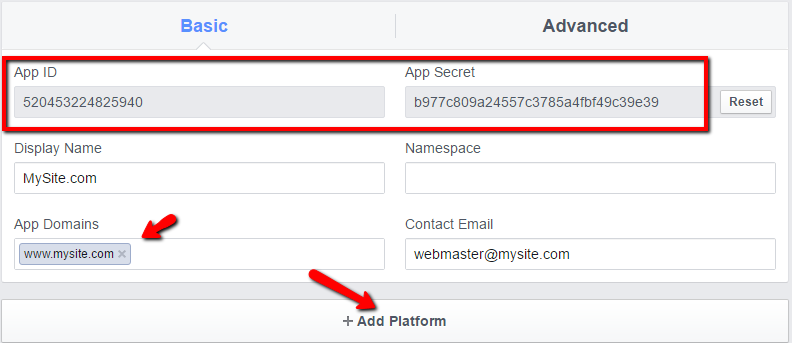
In the App Domains field, enter your website url. Then choose 'add platform'.
You will notice "APP ID" and "APP SECRET" up top. Choose the 'show' button to see the secret. Note this information as it will be used in a moment.
Enter the website domain name in the 'URL of your Site' box and press Save Changes

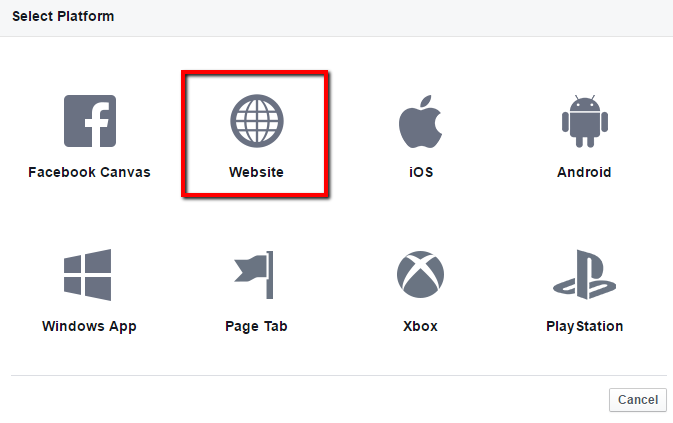
In the next screen click on 'WEBSITE'
Open your site in another window or tab so you can click between this Facebook page and your site's control panel.
The Facebook Application settings can be setup and managed under API Service Settings Facebook Application
In the Facebook Application screen, enter the Facebook App name that you had created, as well as the APP ID and APP SECRET number (see the image for step 4 above, those APP #s have a red square around them). Copy and paste those into the Membergate site's Facebook Application screen and press .

VERY IMPORTANT: it can take an hour or more some times for this newly created application to be recognized by Facebook. Until that happens, your Facebook functions won't work on the site.

Using Facebook Comments, Facebook Login etc
Now that you created a new Facebook Application using the steps above, you won't have to do it again. One FB App for your site is sufficient.
Click here for how to use the various Facebook functionality on your site itself:
Using the Facebook Connect Functions