The image editor is available when uploading images to specific spots on your site. The image editor can be found in the following edit pages:
- Add/Edit Content
- Add/Edit Department
- Portal Pages
- LMS Menus
- Shopping Cart Items, Departments and Portal
- Downloads
- Theme Settings
Learn How using these Instructions
Resize
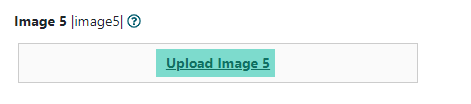
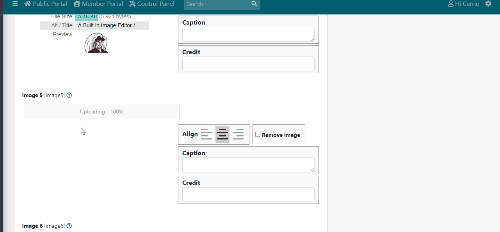
1. Upload the image
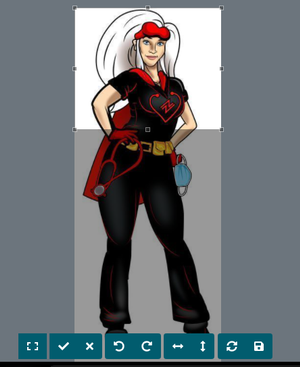
2. Click on the image. This will open the image editor.
3. Choose the (Resize Image) button

4. Enter a new width. The editor will automatically resize the height to the correct ratio so the image is not distorted.

5. Click the to confirm the new size, or click the X to cancel the resize.

6. Click the (floppy disk) button to save the new size.

7. If required, add the image to your page as you normally would.
Other Notes
Other editing can be completed as well. If using multiple tools, we recommend updating the size LAST
If a mistake is made, simply click on the (reset image) button to start over.

Crop
1. Upload the image
2. Click on the image. This will open the image editor.
3. Choose the (Crop Image) button

4. Click on the image and drag where you would like to cut out the picture.
5. Click the to confirm the new crop, or click the X to cancel the crop.
6. Click the (floppy disk) button to save the new size.
7. If required, add the image to your page as you normally would.
Other Notes
Other editing can be completed as well. If using multiple tools, we recommend updating the size LAST
If a mistake is made, simply click on the (reset image) button to start over.
Rotate
1. Upload the image
2. Click on the image. This will open the image editor.
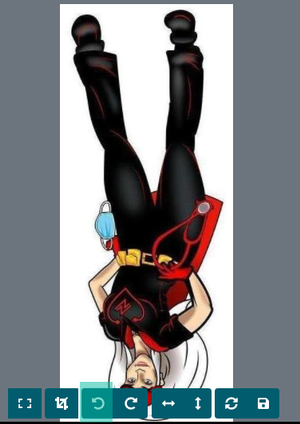
3. Choose the (Rotate Left) button or (Rotate Right) button

4. Click until the picture is at the correct position.
5. Click the to confirm the new position, or click the X to cancel the positioning.
6. Click the (floppy disk) button to save the new position.
7. If required, add the image to your page as you normally would.
Other Notes
Other editing can be completed as well. If using multiple tools, we recommend updating the size LAST
If a mistake is made, simply click on the (reset image) button to start over.
Flip
1. Upload the image
2. Click on the image. This will open the image editor.
3. Choose the (Flip Vertical) button or (Flip Horizontal) button

4. Click until the picture is at the correct position.
5. Click the to confirm the new position, or click the X to cancel the positioning.
6. Click the (floppy disk) button to save the new position.
7. If required, add the image to your page as you normally would.
Other Notes
Other editing can be completed as well. If using multiple tools, we recommend updating the size LAST
If a mistake is made, simply click on the (reset image) button to start over.
File Size
Updating the size of the image will also change the file's size. Changing a file size so it is smaller, will increase the loading speed of the page
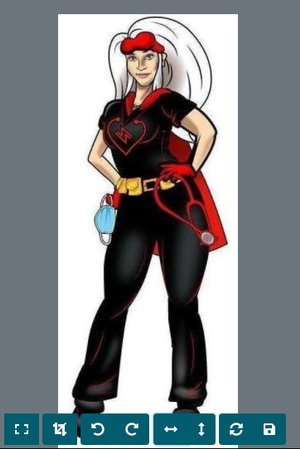
Before:
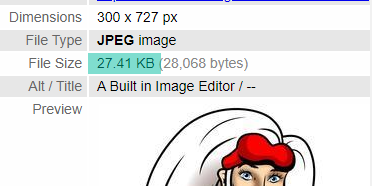
After Resizing
