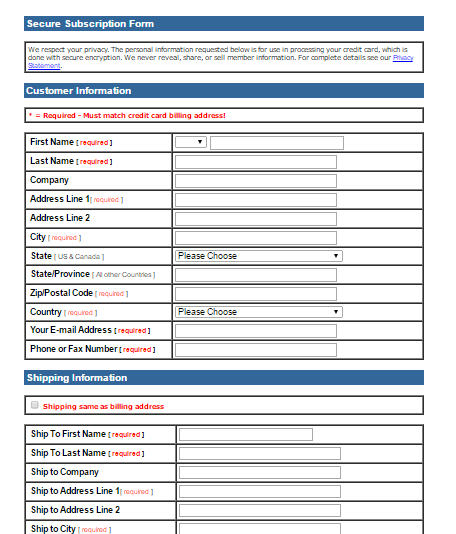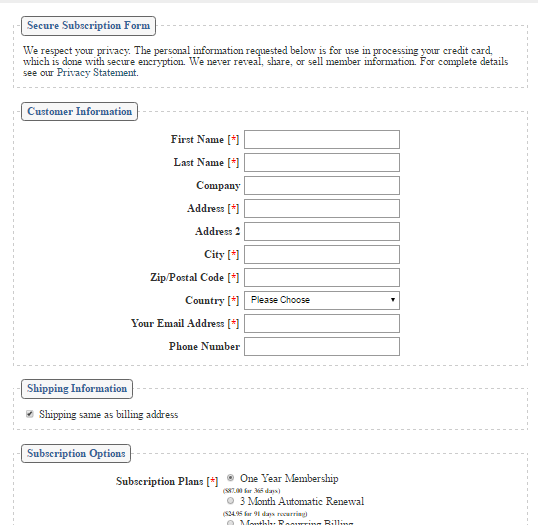
If you have been using MemberGate for a few years, there is a chance that you may be using a subscription form that is not responsive. When MemberGate was first released, the subscription form was created through HTML and making changes to the form required that HTML to be edited.


Using the Subscription Form Generator is a Better Solution
Since that time, MemberGate has been able to improve the subscription form found on your site. Trust us, the subscription form generator is simpler to use, easier to make changes, has more bells and whistles and most importantly - is responsive!
If you are using Stripe for your payment gateway, chances are likely that you are already using the Subscription Form Generator. Using Stripe does require extra coding added to the subscription form that is only available when using the generator (no worries, you don't actually have to manually add the extra code - it's already built in!)
Why You Should Switch to the Subscription Form Generator
Benefits of the Subscription Form Created in the Generator
- Responsive
- More Modern-Looking
- Visual Aids for incorrect fields (for example, the password box turns red when the password doesn't meet the requirements
- Easier to connect your Member Plans to the form
- Easier to change your Member Plans in the future
- No scary HTML to edit!
How to Add a Subscription Form Using the Generator on Your Site
The Subscription Form Generator can be found in your control panel under 'Tools'. Click on 'Subscription Form Generator. The settings can be adjusted as needed. Once the Settings are to your liking, the system will provide you with a CF tag. Copy that tag and paste it into the 'text or html box' of a content page where you would like that form to show on your site.
Any changes to that form in the future, can then be adjusted in 'Subscription Form Generator'. The changes will automatically be reflected on the content page.
Please visit this tutorial to see the full graphical instructions on adding a subscription form to your site using the Subscription Form Generator. The Adding New Member Plan tutorial is also available for you to create new member plans for your site.
Replacing the Existing Form on Your Site
If you are still using an older version of the form, it is likely on content page 5. Once you have the CF tag from the subscription form generator, choose 'edit content' and select content page 5. All of the code in the 'Text or HTML to appear on this page' box can be deleted. Then paste the CF tag for the form created from the generator into the 'Text or HTML to appear on this page' box
Offering Multiple Plans
If you would like to offer multiple member plan options, you do have a couple of options:
Multiple Member Plan Options on One Subscription Form - As many member plans can be selected for each subscription form created.
Different Member Plan Options on Different Content Pages - As many subscription forms that you would like to make available on your site can be created. Add as many subscription forms as necessary using the Subscription Form Generator. Multiple member plans (or just one) can be offered on each new subscription form. Then copy/paste the CF tag for the specific subscription form onto a content page
Other Admin Tips
To keep organized, I like to add the content page number in the form name of each form that I create. This helps me when cross referencing the form to the page it is found on your site. The Form Name is only for internal purposes, so this type of clerical information can be included and remain private.
If you are viewing the subscription form on your site, there is an 'edit form' link found on the bottom right of the form. Clicking on that link will redirect you to the specific edit page in 'subscription form generator' so you can easily access the generator to make changes. The 'Edit Form' link is only available to admin members, a regular member would not be able to see that link.
