Tutorial
Multiple blogs can be added to your MemberGate site. Learn how to create a post to add to the blog.
Blog Entries can be found under Content Blogs Add/Edit Blog Entry
From the drop down menu choose the blog >to which the new post will be added. Click the button
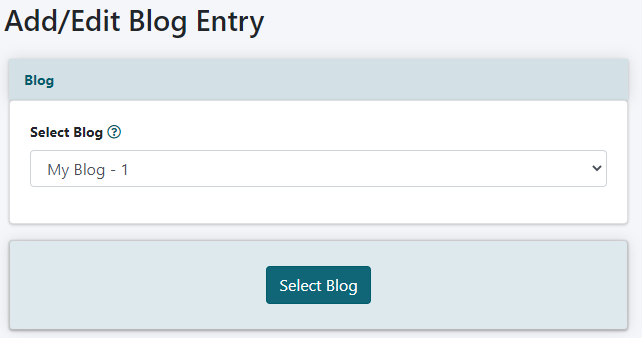
From the drop down menu choose 'New Entry' to add a new post or choose an existing entry to edit it.
Click the button
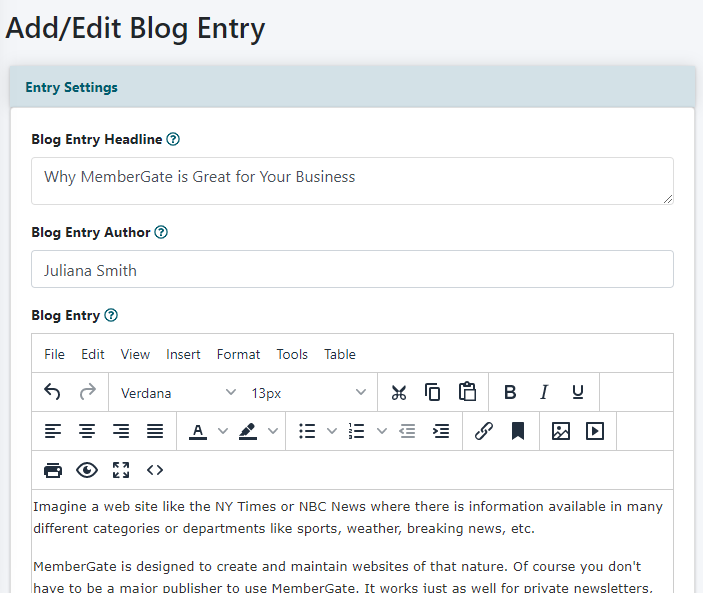
Entry Settings
Blog Headline
Enter the headline for this specific blog entry.
Blog Entry Author
Enter the name of the writer of this specific blog entry.
Blog Entry
Enter the text for the main body of the blog. The WYSIWYG editor can be used to format the blog text. Images can be added using the image icon. Please see the tutorial on adding images using the image icon for instructions if needed.
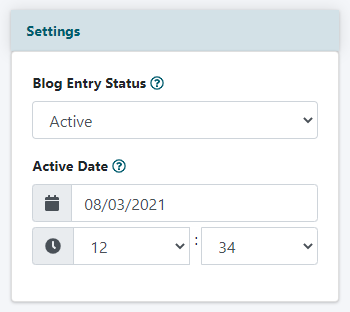
Settings
Blog Entry Status
Select 'Active' from the drop down menu for the post to show on your blog. Select 'Inactive' from the drop down menu so the blog entry is not published on your blog.
Active Date
Set the date and time for the blog entry. The blog entries are arranged by the active date. The most recent date will appear at the top of the blog
Click the button
The blog entry will be automatically published on the blog page of your site (assuming the blog cf tag has been placed on a content or department page)