Tutorial


The slider feature allows you to add a slideshow to your pages. Only 1 feature image will be shown at a time.
Follow the steps below to set a slider on your pages as well.
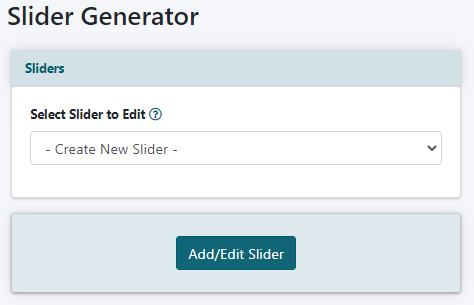
The Slider generator can be found under Tools Sliders
Choose 'Create New Slider' from the drop down menu and click the button.
Slider Content
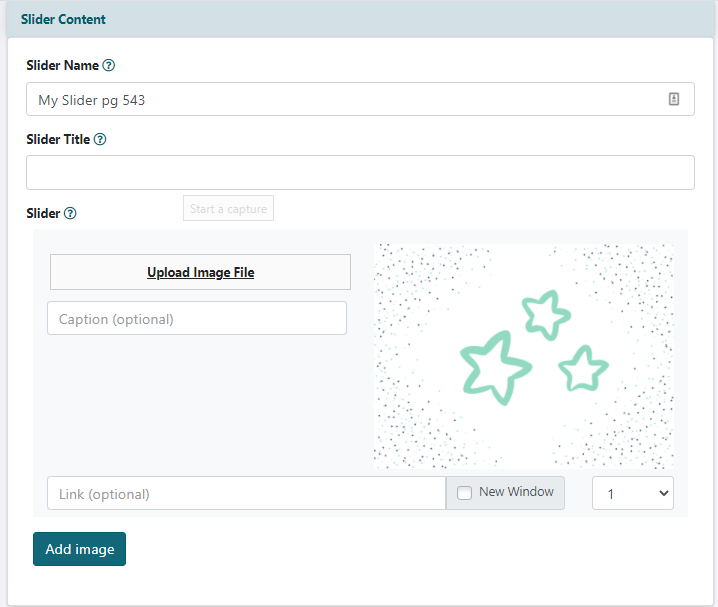
Slider Name
Enter a name for the slider. This name will not be shown anywhere on the live site. It is an identifier so you can find it in the drop down menu and edit it in the future.
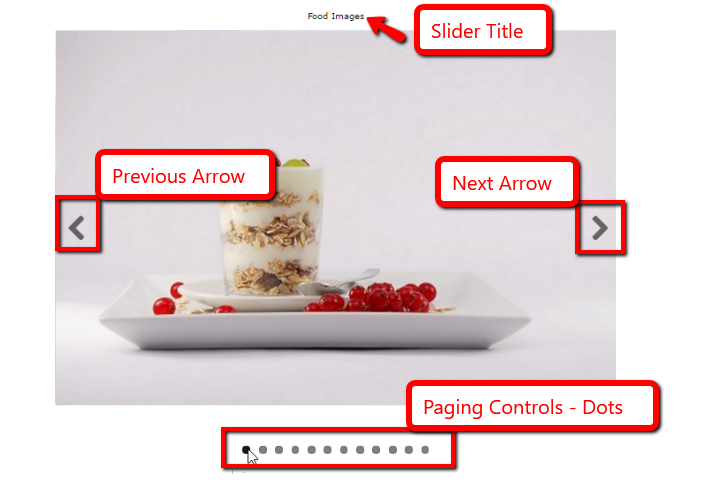
Slider Title
Enter a title for the slider field if necessary. This is an optional field and the title will show on the page at the top of the slider.
Slider
Upload the images in the slider field.
Upload Image File
Click the Upload Image File to select an image file from your local drive.
Caption - optional
Enter a caption to display under the image in the slider
Link - Optional
Enter a link if the user clicks the image to redirect them to another page. Check the New Window box if you would like the redirect to open in a new browser window.
Arrange
Click on Order From the 'Order' drop down box, arrange which position this image to will be shown in the slider.
Add New Image
Click the button to select a new image and repeat the process.
Rearrange
Images can be rearranged at anytime. Click on the 'order' box and select a new position for the image.
Settings
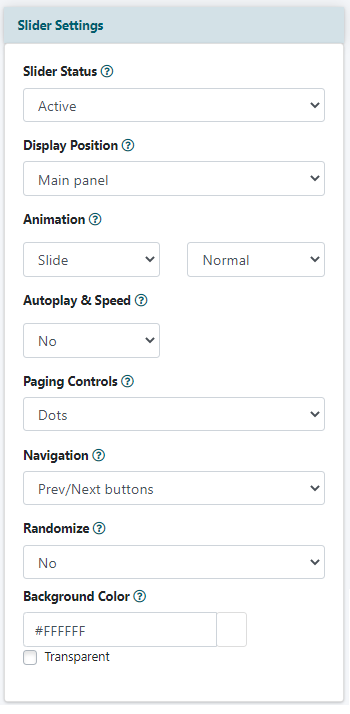
Slider Status
Set the slider Status to 'Active' to show the slider on a page. Choose 'inactive' to remove the slider displaying on the live site.
Display Position
From the drop down menu, choose which part of the page the slider will appear. The slider can be added to the left or right nav panels, the main part of the page or the footer.
Animation
The action of the advancing slider can be set in the animation drop down menu. As the slider advances, the slides can be completed as a sliding feature or as a fade.
The speed setting is for the speed at which the animation will take to complete. It is not related to how long the images will stay on the screen. Choose the animation speed from the drop down menu - normal, fast or slow.
Autoplay & Speed
From the drop down menu, choose 'yes' to automatically animate the slide. A new box will appear for the timing before each slide advances. Enter a number in seconds. Choose 'no' to allow the user to manually advance.
Paging Controls
Choose 'Dots' from the drop down menu to have ellipses under the slider to show how the slider has progressed. Choose 'thumbnails' to include mini images of your graphics. Or choose 'No Controls' to have no paging controls.
Navigation
From the drop down menu choose to have prev/next buttons for the user to click to advance the slides, or select not to have any advancing buttons.
Randomize
Choose 'yes' from the drop down menu for the images in the slideshow to appear in a random order. Choose 'No' if the set order will arrange the order of the images.
Background Color
Set the color for the background color of the slider. Click in the box and enter the hexadecimal color if known, or click in the color box to choose a color.
Check the transparent box to allow the slider background color to match the background color of the page.
Click the button.
Add the Slider to a Page
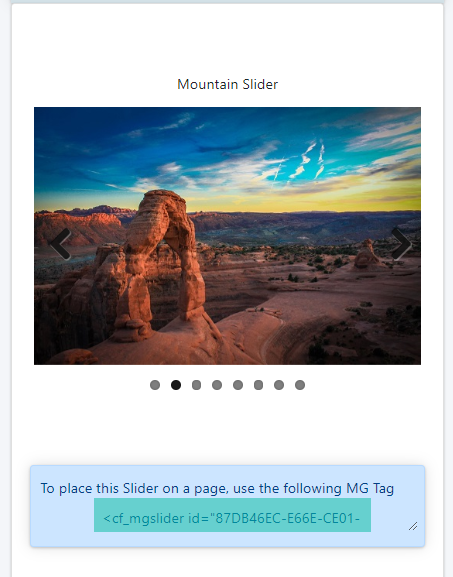
After the slider has been saved, a preview screen with the slider will appear.
The MG Tag will appear in the box below the slider. Copy the MG tag and paste it into the content box for a page, department or portal page.