
Tutorial
How to Build a Custom Form with the MemberGate Form Generator
The MemberGate Form Generator makes it possible to create custom forms without building the form HTML from scratch. Add the fields you need, organize them into sections, customize how the form looks and behaves, and choose how submissions should be handled.
This tutorial walks through the process using a Member Leadership Workshop registration form as an example.
Tools Form Generator
Create the Form
From the Form Generator, click + Create New Form in the top right.
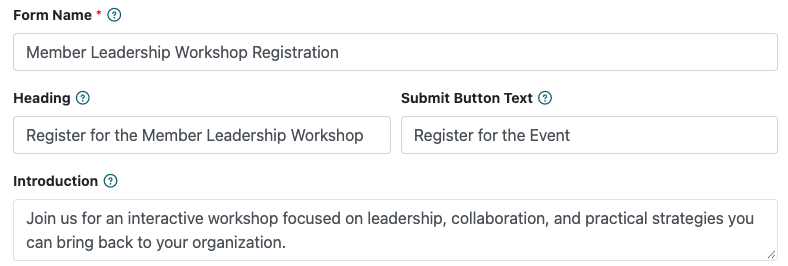
Start by entering a Form Name. This name helps you identify the form inside the Control Panel and is not shown to visitors.
You can also add a heading, introductory text, and customize the words that appear on the submit button.
Add and Arrange the Form Fields
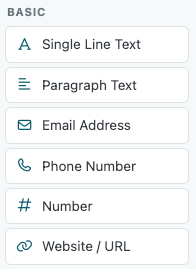
Use the field choices in the Form Builder to add the information you would like to collect.
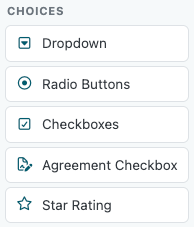
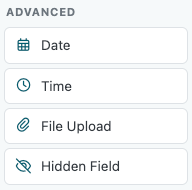
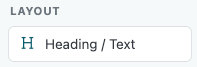
MemberGate includes fields for text, email addresses, phone numbers, choices, dates, ratings, file uploads, agreement checkboxes, headings, and more.
To add a field, click the field type you would like to use from the Form Fields list. The new field will appear with the other fields already added to the form.
Use the up and down arrows on a field to change where it appears on the finished form. You can also duplicate, delete, or expand a field to customize its settings.
Customize Each Field
Click a field in the form field list to expand it and customize how it will work.
If you are new to creating forms, some of the settings may look similar at first. A simple Name field is a good way to see what each option does.
Example: Creating a Name Field
If you want the form to ask for someone's name, enter Name in the Label field. The label tells the visitor what information you are asking them to provide.
You could enter Enter your full name as the Placeholder. Placeholder text appears inside the empty field as a helpful hint.
The Default Value is different. A default value is information that already appears in the field when the form loads. For a Name field, you would normally leave this blank.
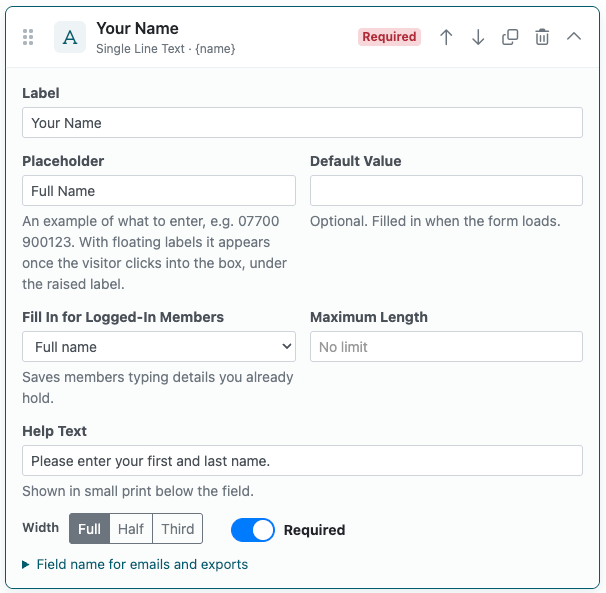
Available settings will vary depending on the type of field you are adding. For example, a Dropdown or Radio Button field will also include the choices visitors can select.
Choose Who Can Use the Form
Use the Status settings to control whether the form is active and who is able to use it.
A form can be available to:
- Everyone
- Logged-in Members Only
- Visitors Who are Not Logged In
This allows the same Form Generator to be used for both public forms and forms created specifically for your members.
Set Up Email Notifications
Choose where MemberGate should send a notification when someone submits the form.
You can customize the notification subject and use information collected through the form in the email. If the form includes an Email Address field, it can also be selected as the Reply-To address so replying to the notification goes directly to the person who submitted the form.
If needed, additional CC and BCC recipients can also be added.
Set Up the Visitor Confirmation
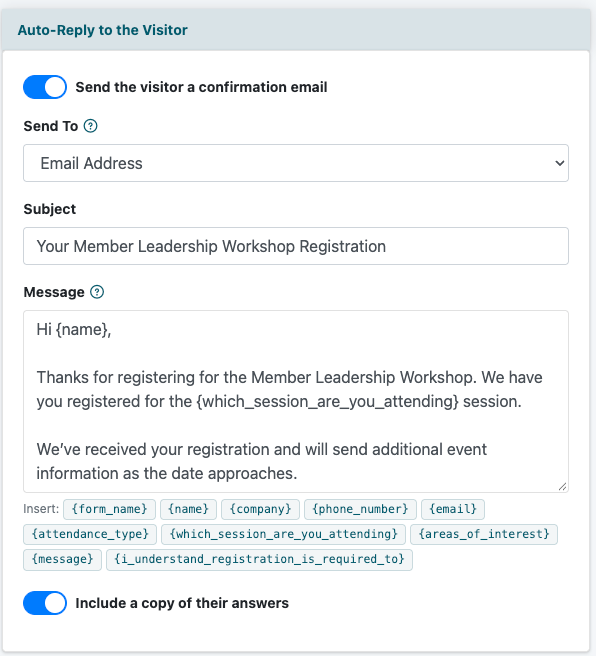
MemberGate can send the person who completed the form an automatic confirmation email.
Choose the Email Address field that should receive the confirmation, then enter the subject and message.
The fields you added to the form are also available beneath the message as placeholders. Click any field to insert it into the email message. When the email is sent, MemberGate replaces the placeholder with the answer that person submitted.
Save and Protect Form Submissions
Under Submissions & Spam Protection, choose whether MemberGate should keep a copy of each response in the Control Panel.
Keeping submissions allows you to review responses later, manage them from MemberGate, reply to submitters, and export the collected information.
If needed, you can also enable reCAPTCHA. The Form Generator includes additional built-in protections designed to help reduce automated spam submissions.
Customize the Form Appearance
Use the Appearance and Heading & Introduction settings to adjust how the finished form will look on the page.
You can choose a form style and adjust options such as labels, colors, corners, form width, button position, form position, borders, shadows, and heading presentation.
You do not need to change every setting. Start with the overall style and then adjust the options that help the form coordinate with your site's design.
Preview the Finished Form
When the form is ready, click Save Form.
A preview of the form appears beneath the settings so you can see how the fields, sections, colors, and other design choices work together.
Before saving, take a moment to check the finished form. Make sure the fields appear in the correct order, the labels are clear, required fields are set appropriately, and the submit button says what you want it to say.
If something does not look right, return to the appropriate setting, make the change, press save, and check the preview again.
Save and Add the Form to a Page
MemberGate will provide a CF tag for the saved form. Copy the tag and paste it onto the MemberGate content page where you would like the form to appear.
The form will display on the site wherever the CF tag is placed.
