Tutorial
Images can be added to content pages using custom MemberGate tags that are found right on the edit or add content pages.
Open a new content page or edit an existing one.
Under Content Pages Add Page or Edit Page
The images can be managed in the Images section
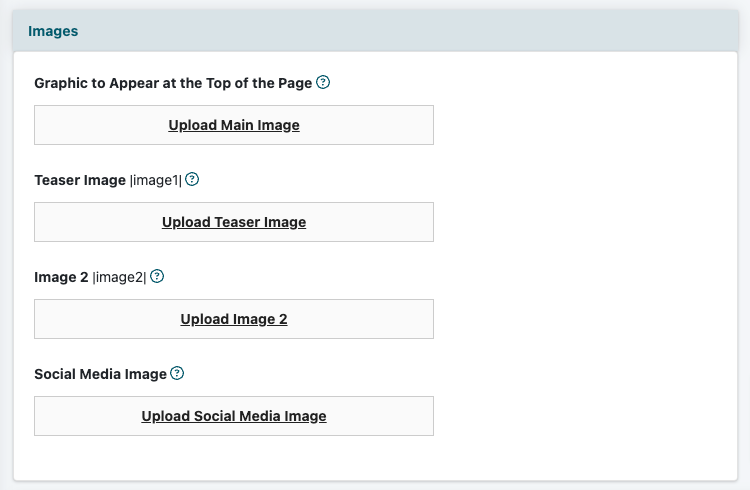
How to Upload
*The image 1 placeholder is used to add a thumbnail teaser image to the teaser copy of the page. Please see this tutorial on Adding Teaser Images to the Teaser Copy for more information.

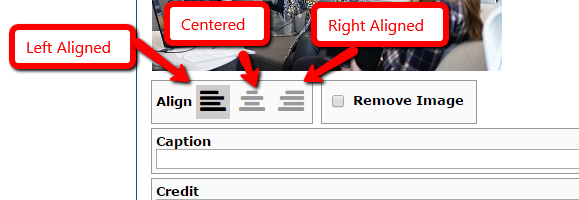
2. Choose the Alignment. In the Align box, click to align it to the left, right or center
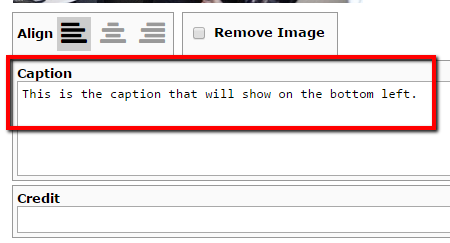
3. Add an image caption (optional) into the 'Caption' box. This will appear on the bottom left of the image. The text in this box will act as the 'alt' information for the image. Alt image is used for SEO purposes and will show on the user's screen if the image doesn't appear.
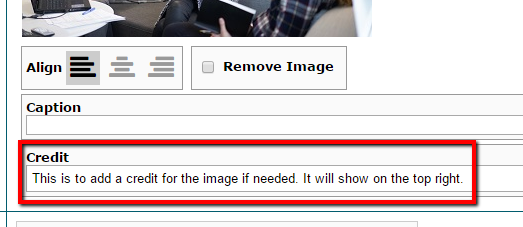
4. Add an image credit (optional) into the 'Credit' box. This will appear on the top right of the image and is used to provide a credit for the original publisher or photographer of the image.
Copy the image tags E.G | image2|
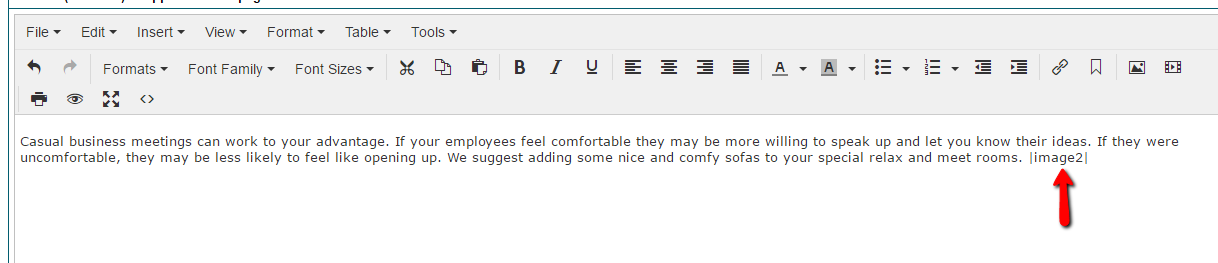
6. Paste that tag directly into the "Text (or HTML) to appear on this page" box where the image should appear.
Continue adding images to your page. Twenty images can be added in this manner. Once images 1-6 have been used, a new image placeholder for 7 will automatically appear. More fields will be added each time up to 20 fields.
This is the resulting look of the page: