Tutorial
Large files can be uploaded directly in the MemberGate control panel. The files can be uploaded directly through the File Upload option. The download area, video and audio media players, and shopping cart areas also include specific fields to upload files directly to those functions.
File Upload
The File Upload functionality can be found under > Utilities > File Upload
The File Upload functionality can be found under Utilities File Upload
Select Files to Upload
Select Files to Upload
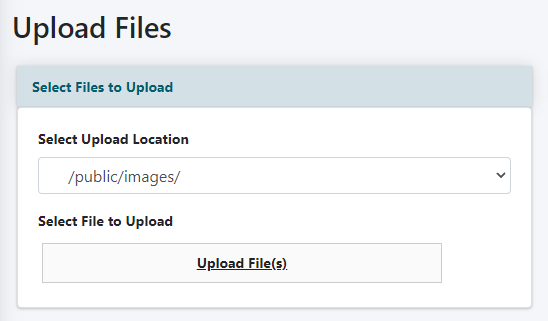
Select Upload Location
Choose to which folder the file(s) should be uploaded from the drop down menu
Select File to Upload
Click on Upload File(s) and select the file or files to upload from a local drive.
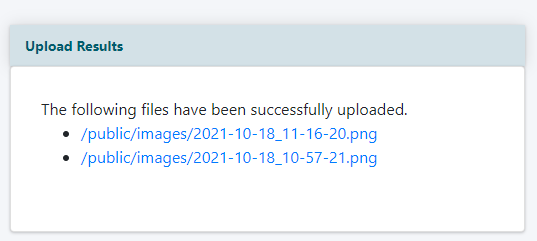
Upload Results
When completed, the file paths will appear in the 'Upload Results' section