Tutorial
There are many different steps to take to fully set up the affiliate program. Follow the instructions found in each section of this tutorial to fully take advantage of the functionality found in the affiliate program.
The Affiliate Program can be managed under Commerce Affiliate Program
Click on each tab for more information
A. Customize Affiliate Settings and Signup Options
The initial step is to edit the affiliate settings for your site's needs.
Click on each section to expand the field to learn more details.
The Affiliate Program Settings management can be found under Commerce Affiliate Program Settings
Affiliate Settings
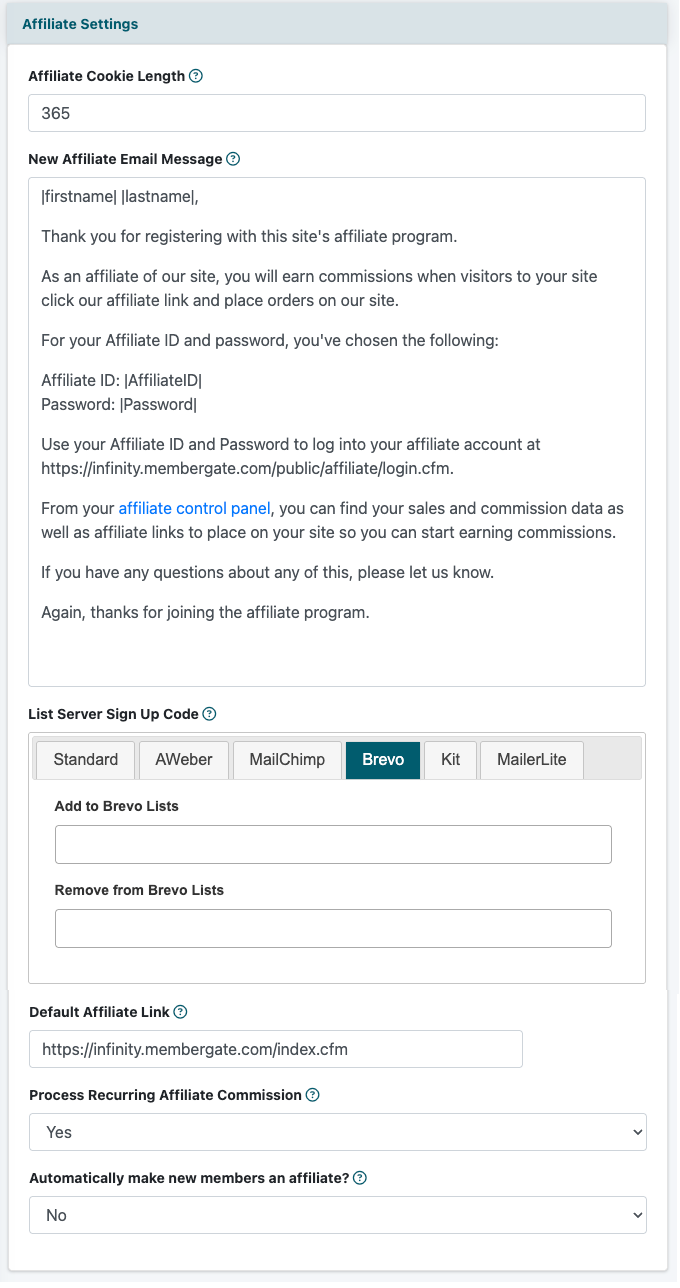
Affiliate Cookie Length
If a user comes to your site through an affiliate link, the cookie will stay on their computer for the amount of time set in the affiliate cookie length. If they make a purchase or become a member within that time frame, the affiliate will be given credit.
New Affiliate Email Message
After an affiliate signs up, they will receive an email message. The email message information can be customized in the 'New Affiliate Email Message' box. Substitute. The following variables can be added to the email message.
#firstname#
#lastname#
#affiliateID#
#password#
The affiliates values for those placeholders will appear in their email message.
List Server Sign Up Code
Visit the next tab for instructions on setting up the list server sign up code.
Default Affiliate Link
This is the default link that will be listed in the affiliate's marketing page. Include any url of your site. Remember if using the home page to also include /index.cfm at the end.
For example, the membergate home page would be listed as //www.membergate.com/index.cfm
Process Recurring Affiliate Commission
If you would like an affiliate to earn a commission on each recurring billing fee, select 'yes'. If you would only like the affiliate to earn a commission on the first membership fee select 'no'. This setting is for all affiliates and all member plans.
Automatically make new members an affiliate?
From the drop down menu, select whether to automatically make new members, affiliate members as well. Select 'yes' if you would like all members to be affilate members, select 'no' if the member would have to manually sign up to be an affiliate.
Set Up Your Autoresponder
Automatic management of email marketing lists can be controlled at the affiliate level. Affiliate users can automatically be added or removed from your lists. The setup is completed under under the 'List Server Codes' section.
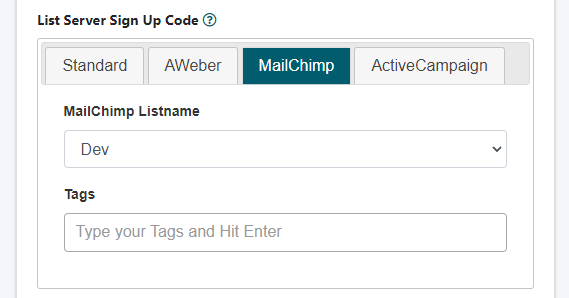
List Server Sign Up Code
If a user comes to your site through an affiliate link, the cookie will stay on their computer for the amount of time set in the affiliate cookie length. If they make a purchase or become a member within that time frame, the affiliate will be given credit.
When a new affiliate subscribes, their name and email address can automatically be sent to your email marketing list.
AWeber Users:
If you are using AWeber select the AWeber tab and select the list from the drop down menu, and set any available tags. This is assuming that you have connected to the AWeber API. If you have not, please follow the instructions found here: Connect to AWeber API
MailChimp Users
If you are using MailChimp, select the MailChimp tab and select the list from the drop down menu. This is assuming that you have connected to MailChimp API. If you have not, please follow the instructions found here: Connect to MailChimp API
Active Campaign Users
If you are using Active Campaign, select the Active Campaign tab and select the list from the drop down menu. This is assuming that you have connected to Active Campaign API.
Other Autoresponder Users
If you are using another email marketing list provider and you have the email parser code, the raw code can be pasted into the standard box.
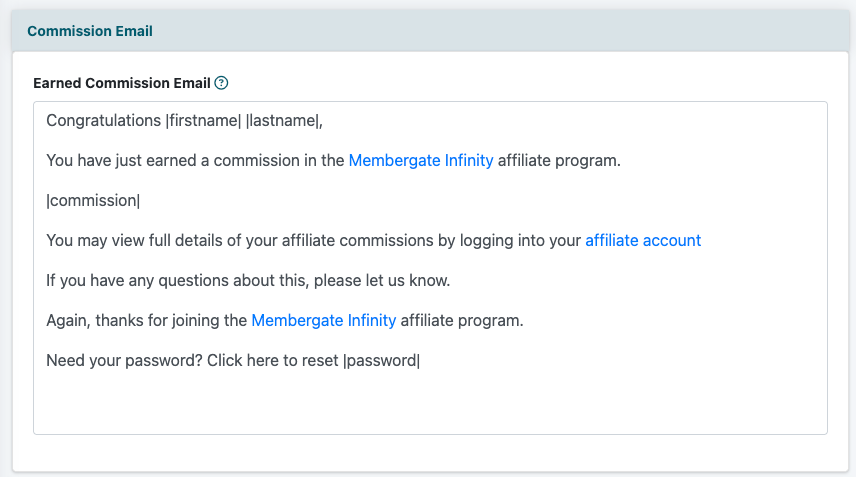
Commission Email
Include the customized commission message in the 'Earned Commission Email' box. Include variables like |firstname|, |lastname| and |commission| to include those details in the message.
Affiliate Sign-Up Page
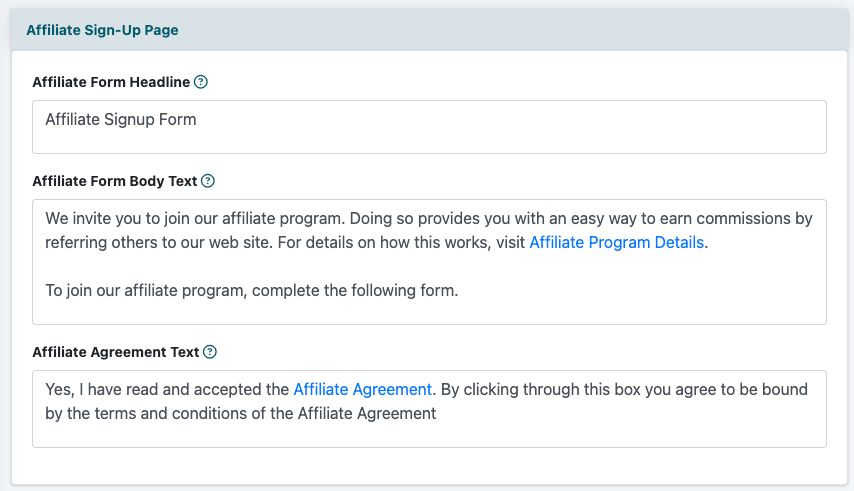
Affiliate Form Headline
Add a headline which will appear at the top of the page of the affiliate sign up form.
Affiliate Form Body Text
Add the body text that will appear on the page above the affiliate sign up form.
Affiliate Agreement Text
The affiliate agreement text will appear on the sign up form under the 'Agree to our terms and conditions section of the affiliate sign up form.
Affiliate Login Page
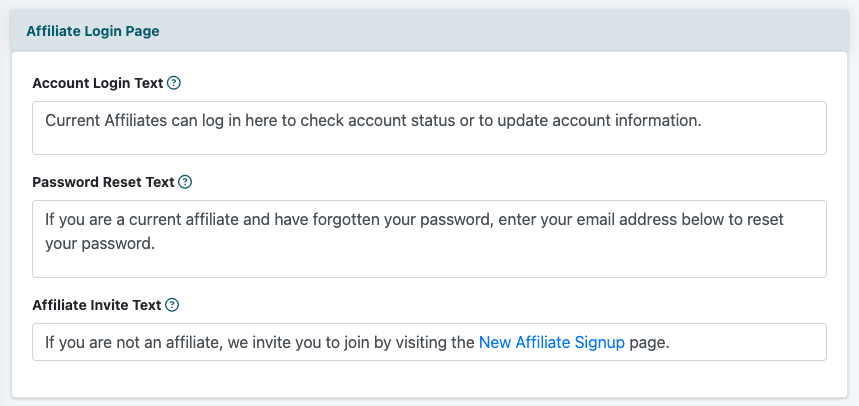
Account Login Text
This is the message that appears in the same box as the affiliate account login boxes.
Password Reset Text
This is the message that appears above the password reset option.
Affiliate Invite Text
The affiliate invite text will appear underneath the reset password option.
Click the button
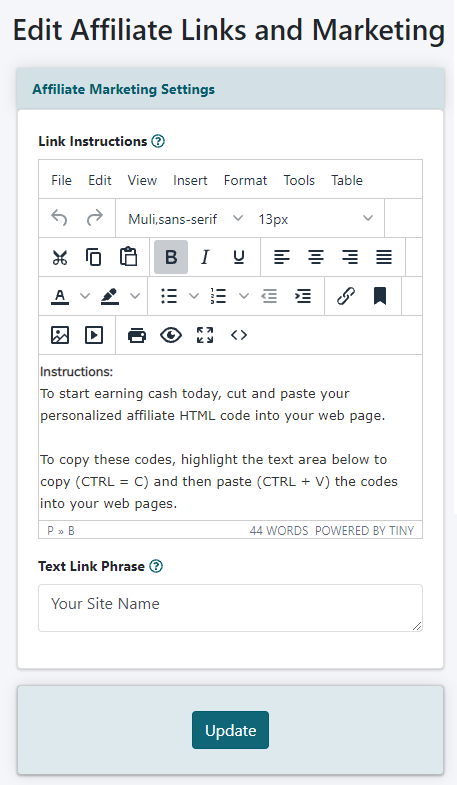
B. Affiliate Marketing Page
When an affiliate logs into their account, they will be able to copy code and images to place on their site. The marketing page is where they will see that information. Edit the main text of the marketing page by following the steps below.
Click on each section to expand the field to learn more details.
The Affiliate Program Marketing management can be found under Commerce Affiliate Program Marketing
The affiliate marketing page can be viewed once an affiliate is logged into their account. The affiliate login page can be found here (substitute your site name into the url)
Update the 'Link Instructions' and the 'Text Link Phrase'
Save the Marketing Settings
The Marketing Settings can be saved by selecting the button found at the very bottom of the Marketing editing page.
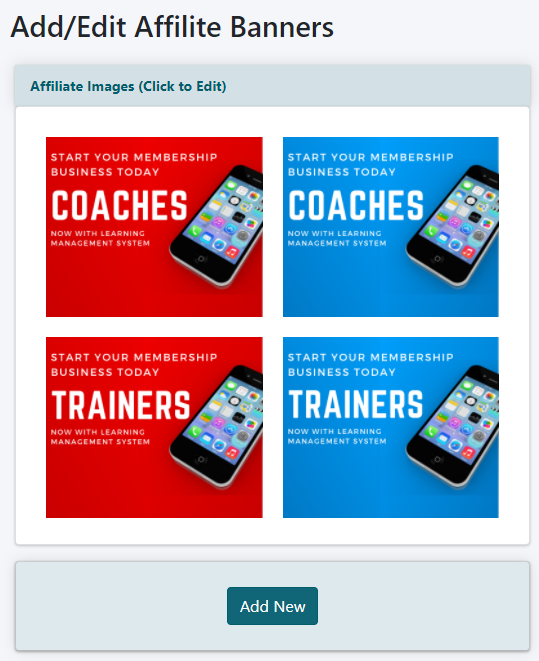
C. Add or Edit Affiliate Banners
Affiliate banners can be provided to your members along with automated code to add the banners to their site. The banner code will automatically include the affiliate's ID information so all the affiliate has to do is copy and paste. The affiliate banners are found in the marketing area when they login to their affiliate accounts.
Click on each section to expand the field to learn more details.
The Affiliate Program Banner management can be found under Commerce Affiliate Program Banners
Click the button to add a new banner or click on an existing banner to make changes to it.
Banner Settings
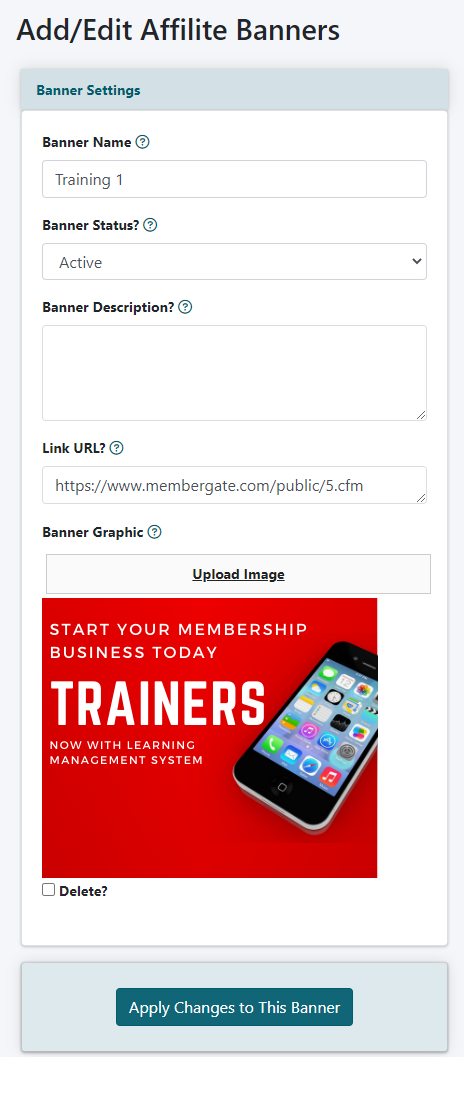
Banner Name
Add a banner name just for your reference. It will not be shown anywhere.
Banner Status?
Set the 'Banner Status' to 'active' to include it on the marketing page. If you no longer would like to offer it to affiliate members, set the status to 'inactive' and it will not show on the marketing page.
Banner Description?
Enter the description in the 'Banner Description' field. This will show on the marketing page next to the banner and it's code. This can be used for information about the banner, a new sales program or subscription details.
Link URL?
Enter the URL where the user who will click on the banner will 'land' on your site. This can usually be a sales page or landing page.
Banner Graphic
Press the Upload Imagebutton and select the image from your local drive to upload.
The Banner Graphic can be saved by selecting the button found at the very bottom of the Banner upload page.
The banner will appear on the marketing page for the affiliate. There will be an HTML code for the affiliate to add to their site to add a banner or just a text link. The affiliate's ID will automatically be added into the HTML code.
Almost Done!
The affiliate program is now set up. The final steps include setting your member plans and shopping cart products so the affiliate members can earn a commision. Please follow the steps found in these other tutorials for further information.
- Set Commission Rates on Member Plans (see part 6 -P and Q)
- Set a Product in the Shopping Cart so an Affiliate can Earn a Commission
- Pay the Affiliate Members their earned Commission
Last Step - Testing!
Join the affiliate program and take the steps that a real affiliate would take. This allows you to see the whole process and to make sure it is working as you expected.
Testing can include signing up as an affiliate, checking out the affiliate's marketing page and even testing to subscribe as a new member through an affiliate link.
What is the Affiliate URL?
For an affiliate to receive credit for a sale, they would have to send users to your site with their affiliate ID appended to a URL on your site.
This code would be added to the end of the URL on your site (replacing the affiliate's actual affiliate ID with 'affiliatesID')
?affID=affiliatesID
For example, if you wanted to direct an affiliates users to your public portal page, the url would be:
https://www.yoursite.com/public/main.cfm?affID=affiliateID